Android SDK
Ensure you have completed the Prerequisites section before continuing.
Installation
-
Add Maven Central repository to your settings.gradle file:
settings.gradledependencyResolutionManagement {
repositoriesMode.set(RepositoriesMode.FAIL_ON_PROJECT_REPOS)
repositories {
// ...
mavenCentral()
}
} -
Add
dashx-androidas a dependency in your module-level build.gradle file:app/build.gradledependencies {
// ...
implementation 'com.dashx:dashx-android:1.0.9'
} -
Enable Java 1.8 source compatibility if you haven't yet.
app/build.gradleandroid {
compileOptions {
sourceCompatibility = JavaVersion.VERSION_1_8
targetCompatibility = JavaVersion.VERSION_1_8
}
}
If you're using Android Studio, you should hit the Sync Now button that pops up after modifying build.gradle.
Configuration
DashX needs to be initialized as early as possible in your application's lifecycle, which is generally in an instance of the Android Application class:
import android.app.Application;
import com.dashx.sdk.DashX;

public class MyApplication extends Application {
    public void onCreate() {
        super.onCreate();

        DashX.configure(
            context = this,
            publicKey = "...", // required
            baseURI = "...", // optional
            targetEnvironment = "...", // optional
        )
    }
}
If your product uses multiple environments, a good practice is to:
- create
productFlavorsfor each environment, - use
buildConfigFieldto declare your DashX configuration, and then - use
BuildConfigto pass your configuration as parameters.
Permissions
By default, the dashx-android SDK automatically requests the following permissions:
<uses-permission android:name="com.google.android.gms.permission.AD_ID" />
If you need to meet certain privacy restrictions (example: if your app targets children), you can easily remove the AD_ID permission declaration in your Android Manifest file:
<!-- Ensure that xmlns:tools is declared in your manifest tag -->
<manifest
    xmlns:android="http://schemas.android.com/apk/res/android"
    xmlns:tools="http://schemas.android.com/tools"
    package="..."
>

<!-- Remove the permission from your final merged manifest -->
<uses-permission android:name="com.google.android.gms.permission.AD_ID" tools:node="remove" />
Publishing
On the Play Store Console, you will need to fill out the Advertising ID form to prevent any warnings during release:
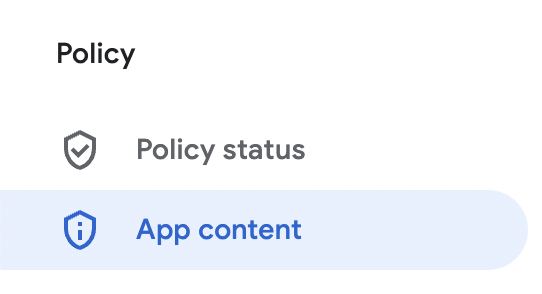
- Head to the Policy > App Content section in the sidebar.
- Hit Start under the Advertising ID section.
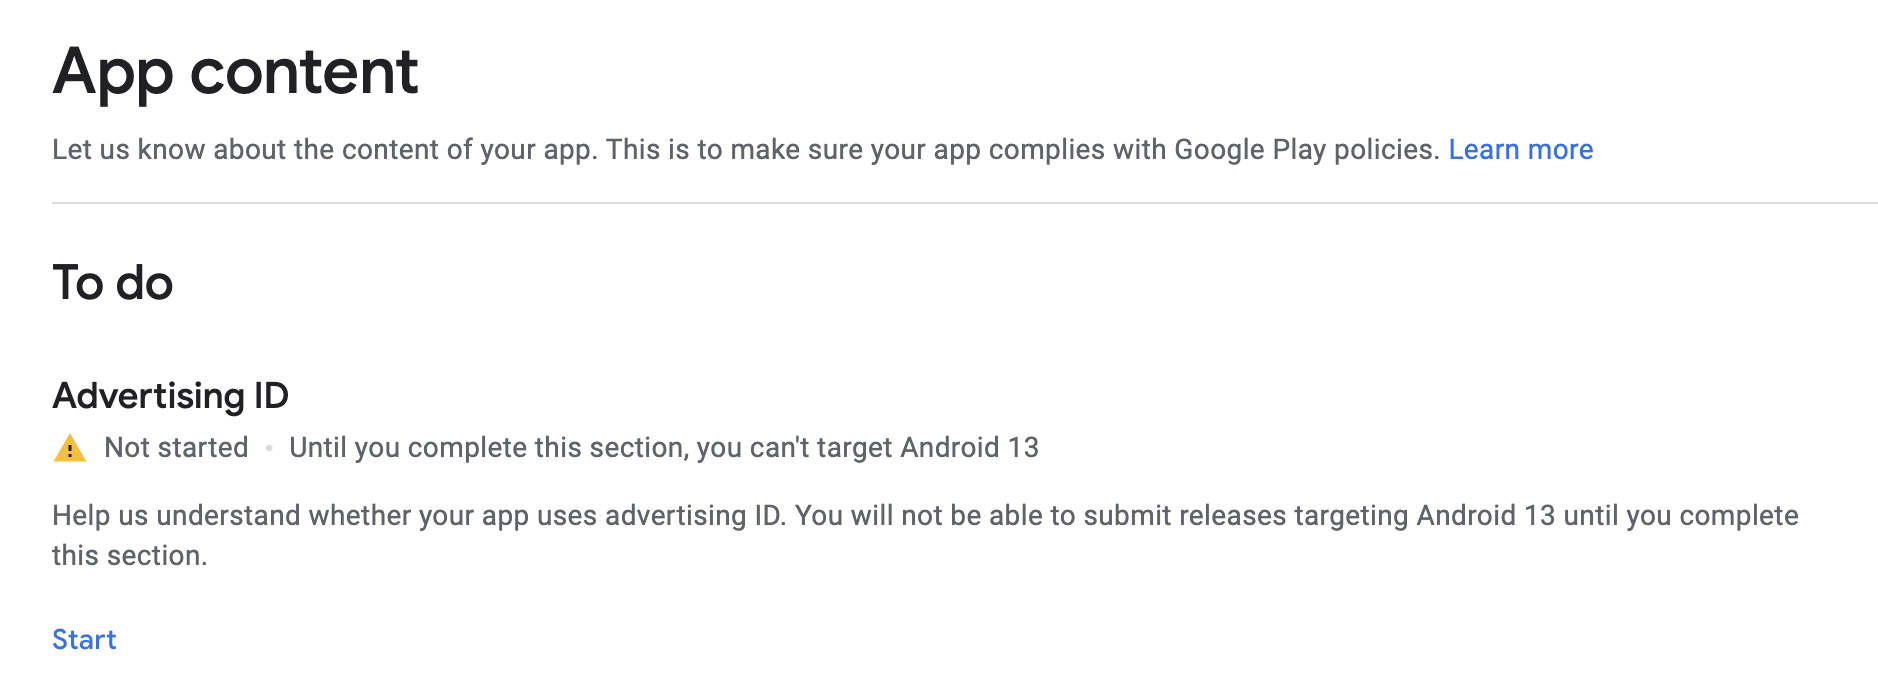
- For the question, "Does your app use advertising ID?", select the answer "Yes".
- For the question, "Why does your app need to use advertising ID?", select the option "Analytics".
Troubleshooting
As an optional step, you can set the log level for debugging your integration:
import com.dashx.sdk.DashXLog

// ...

DashXLog.setLogLevel(DashXLog.LogLevel.DEBUG)
By default, the log level is set to ERROR. You can set it to one of: DEBUG (most logs), INFO, ERROR or OFF (no logs).
Usage
User Management
DashX.identify(hashMapOf(
    "uid" to "123",
    "firstName" to "John",
    "lastName" to "Doe"
))
Analytics
DashX.track("Button Clicked", hashMapOf(
    "label" to "Click here",
    "placement" to "top"
))
Messaging
// Subscribe to Push Notifications

DashX.subscribe()

DashX.unsubscribe()

// Manage User Preferences

DashX.fetchStoredPreferences(onSuccess = {
    // ...
}, onError = {
    // ...
})

DashX.saveStoredPreferences(preferenceData, onSuccess = {
    // ...
}, onError = {
    // ...
})
CMS
DashX.fetchContent("email/welcome", language = "en_US", onSuccess = {
    println(it)
}, onError = {
    println(it)
})
fetchContent accepts following arguments
| Name | Type | Example |
|---|---|---|
preview | Boolean | |
language | String | "en_US" |
fields | List<String> | ["character", "cast"] |
include | List<String> | ["character.createdBy", "character.birthDate"] |
exclude | List<String> | ["directors"] |
DashX.searchContent("email",
    language = "en_US", returnType = "all",
    filter = hashMapOf("identifier_eq" to "welcome"),
    order = hashMapOf("created_at" to "DESC"),
    limit = 10,
    preview = true,
    onSuccess = {
        println(it)
    }, onError = {
        println(it)
    })