Firebase Cloud Messaging
FCM (Firebase Cloud Messaging) is a popular way to integrate cross-platform push notifications.
Here is a summary of the steps you would need to take:
iOS Setup
Create an APNS Auth Key
- Log into your Apple Developer account.
- Head to the Keys section.
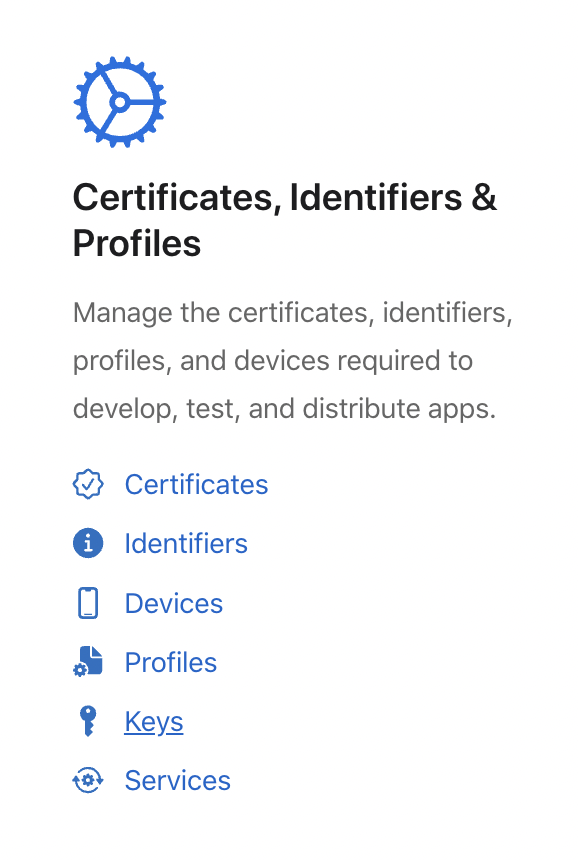
- Click on the [+] to add a new Key. If you have multiple Environments, it is recommended to create a key for each Environment.
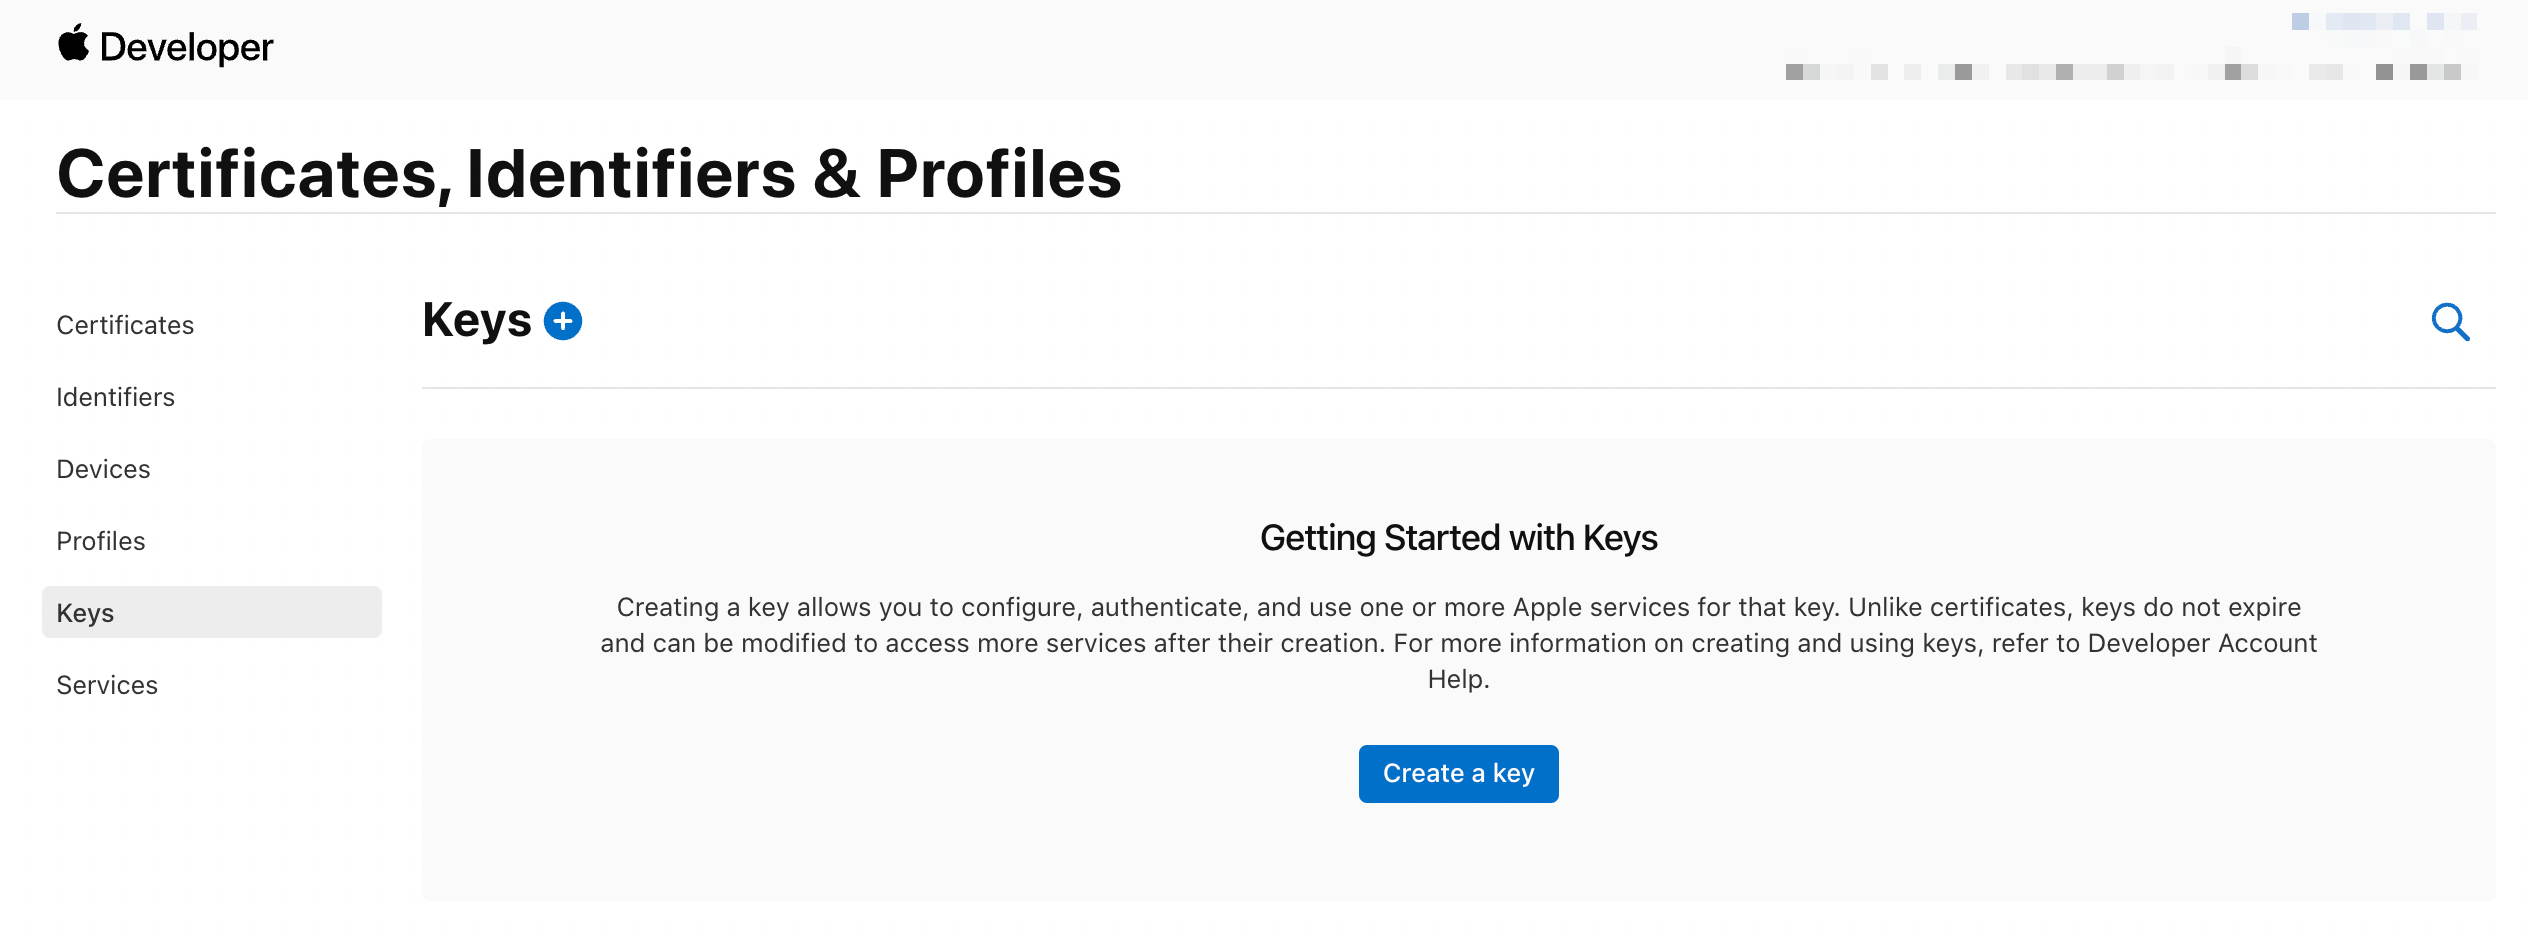
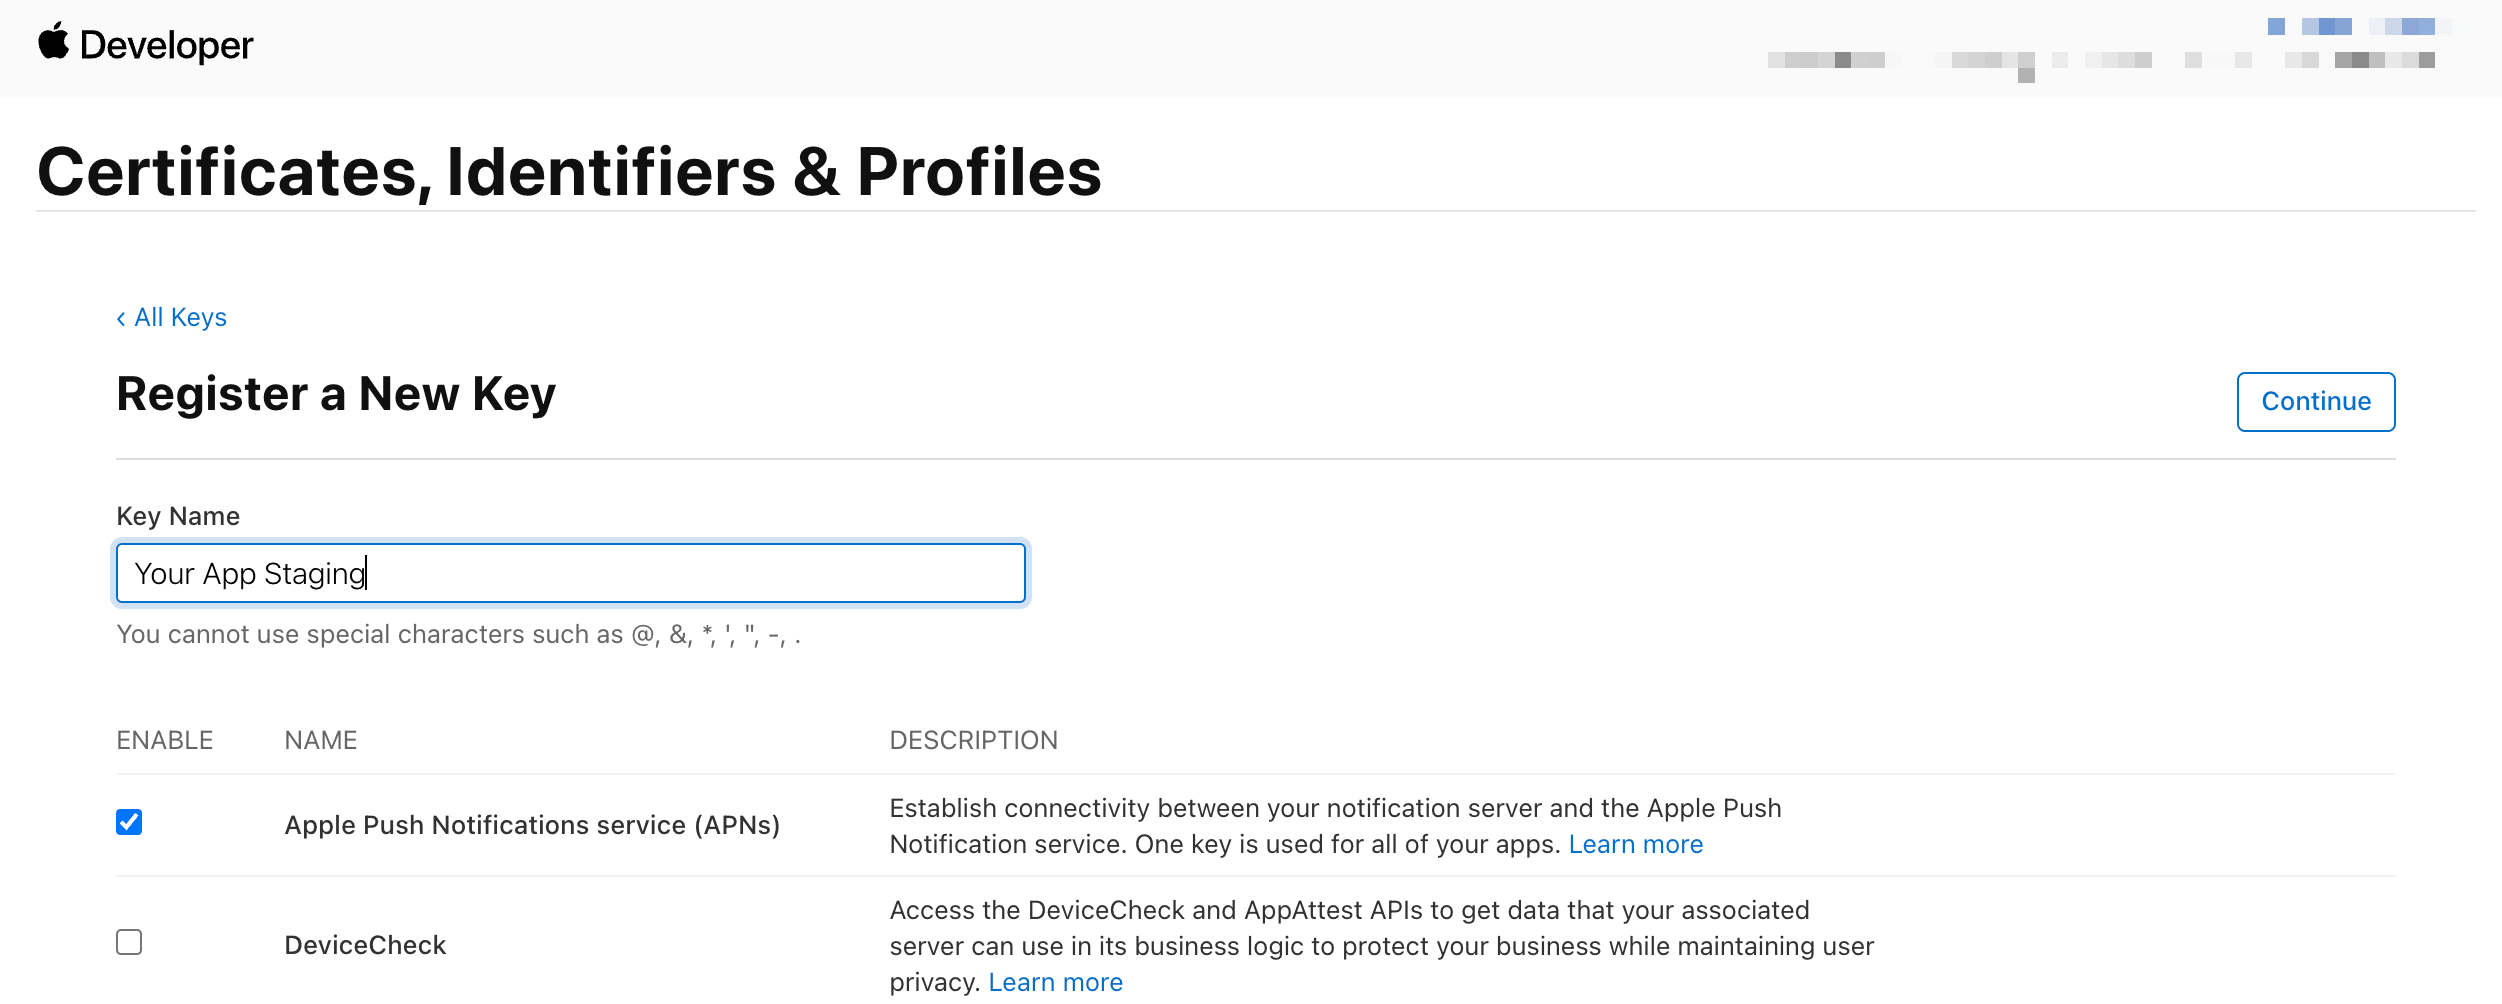
- Provide a name for your Key. We recommend the name of your app followed by the Environment. Enable Apple Push Notifications service (APNs). Hit Continue.
- In the final step, don't forget to hit the Download button to download your key. IMPORTANT: This step can be done only once. Save this file in a secure place. Also, make a note of your Key ID as you'll need it later.
Setup Firebase Project
-
Create a Firebase Project. (Learn more)
-
Follow the steps prompted by the Firebase Wizard:
- Download
GoogleService-Info.plistfrom Firebase. (Learn more) - Copy
GoogleService-Info.plistto the root of your XCode project.
noteIf you're using multiple Environments, you will want to follow Firebase's recommendations: create separate targets for each Environment, store each plist in separate folders, and, set the Target Membership for each plist correctly.
You can check out the
Config/Firebasefolder in DashX Demo iOS App as an example.- Add
pod 'FirebaseMessaging'to your Podfile. - Run
pod installto install the pod. - Add the necessary Firebase configuration code in your AppDelegate. You can check out the
AppDelegate.swiftfile in DashX Demo iOS App as an example.
- Download
-
Next, you will need to go to Project Settings > Cloud Messaging tab. Here, click on Upload.
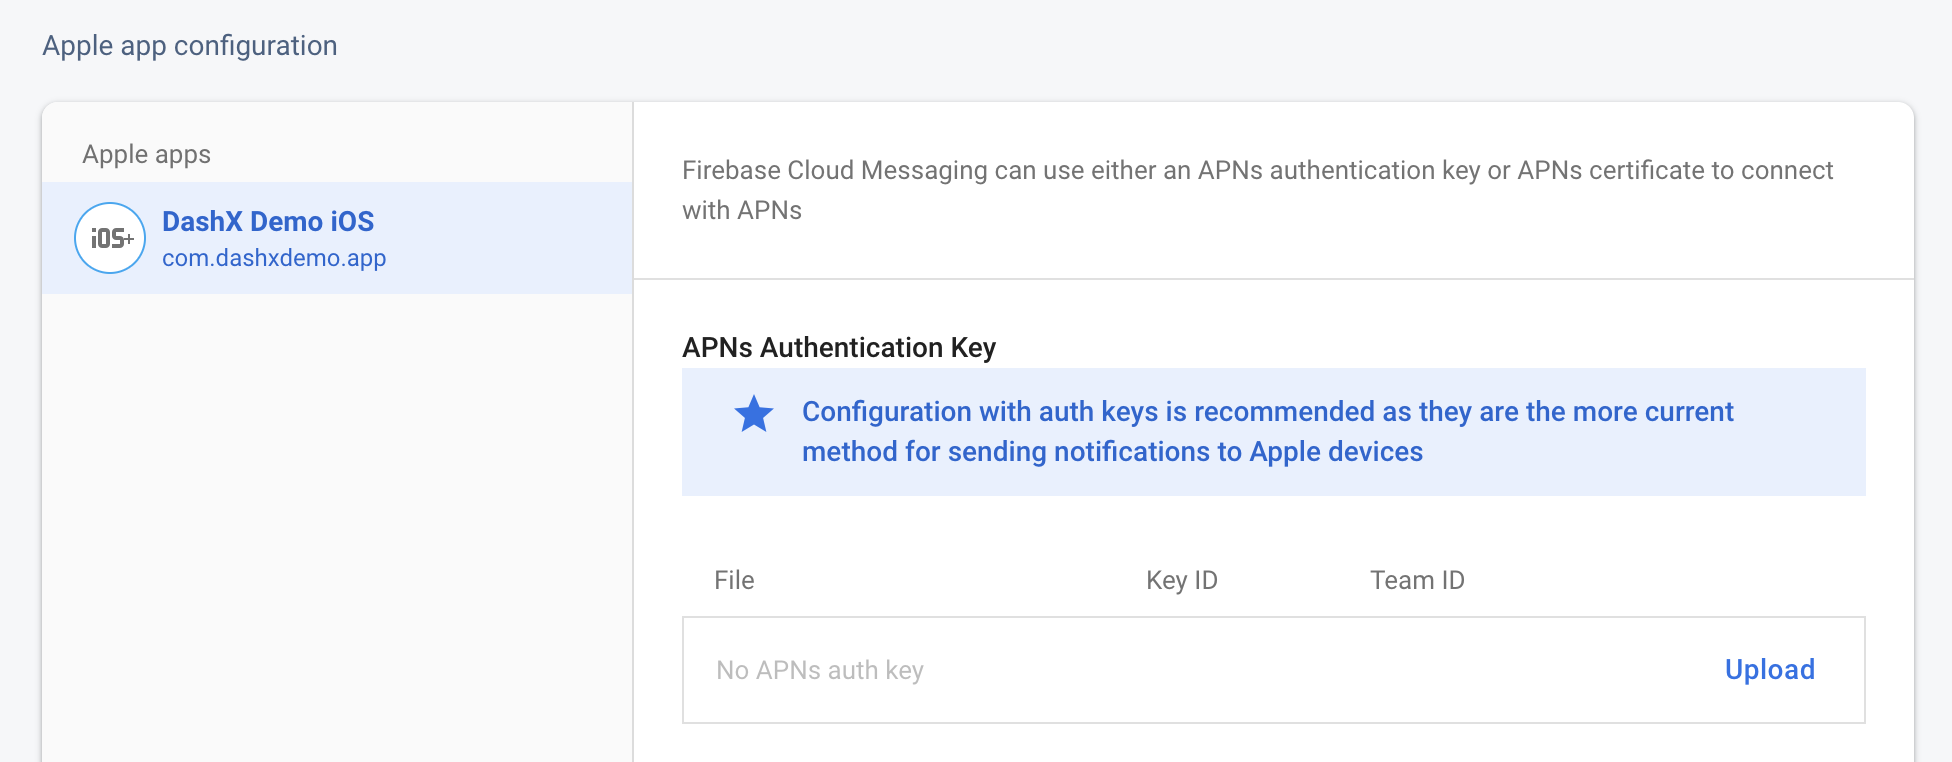
-
Upload your file (you should have this downloaded already after creating your Key), enter your Key ID (you would have obtained this after creating the Key, but you can always find it by selecting your Key from Apple Developer > Account > Keys, and finally, enter your Team ID (you can find this from Apple Developer > Account under the Membership details section).

Add Capabilities to your XCode Project
-
Open your project in XCode
-
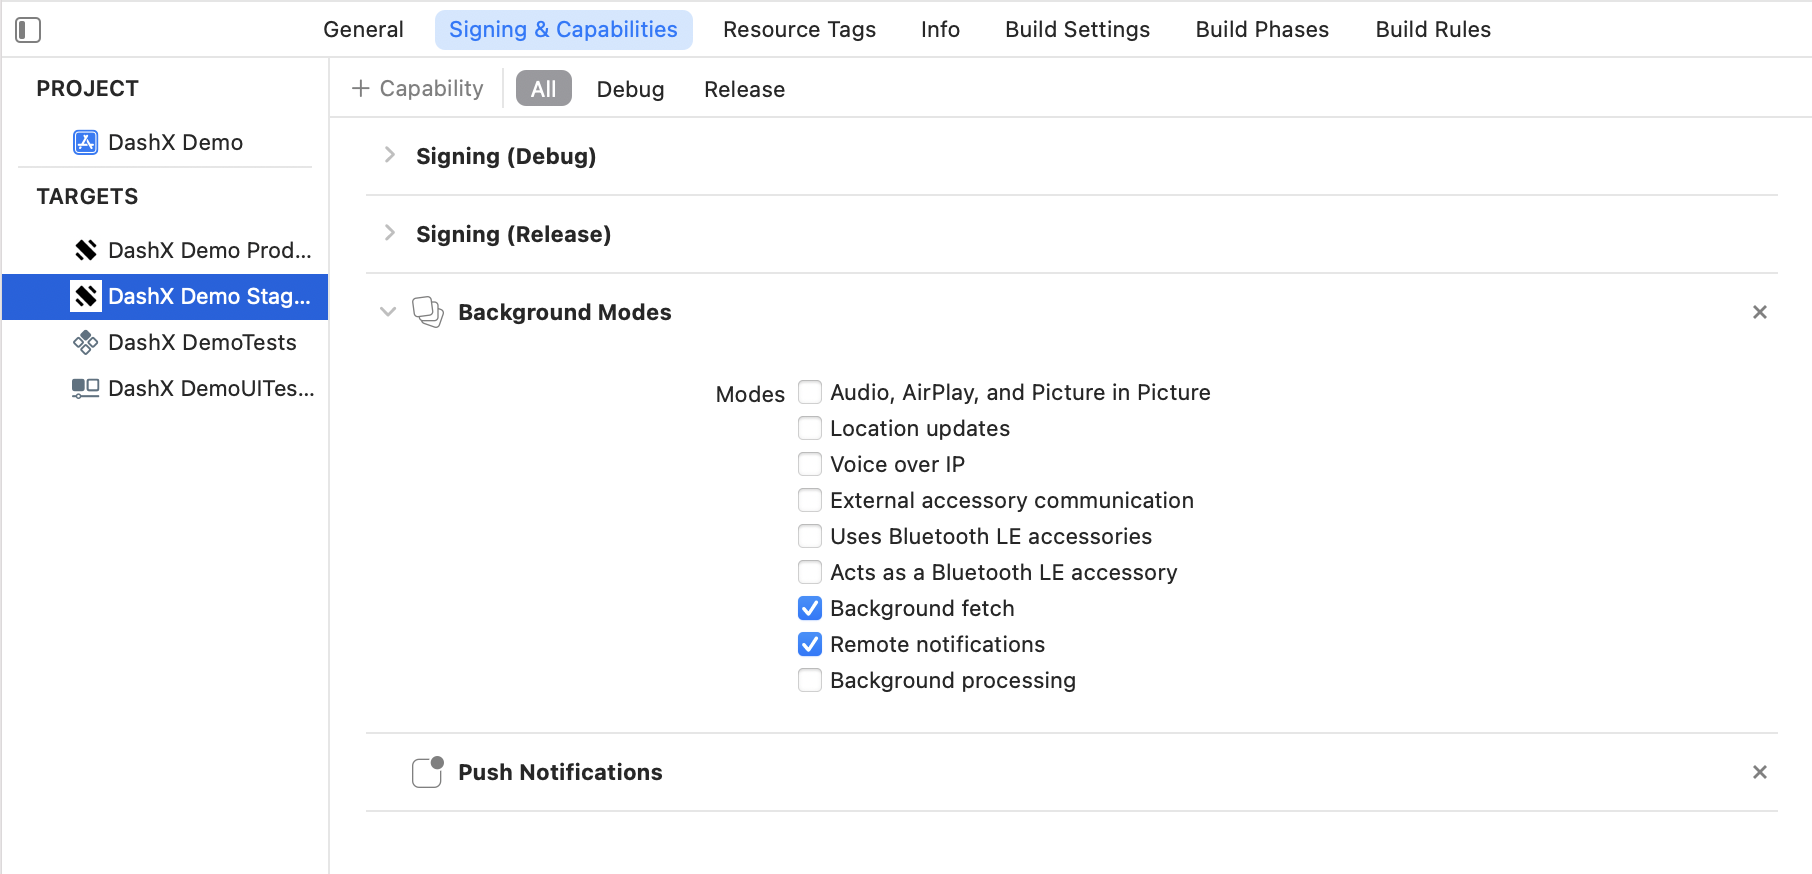
Select each non-test target and go to the Signing & Capabilities tab.
-
Add the following Capabilities to each non-test target:
- Push Notifications
- Background Modes > Background Fetch
- Background Modes > Remote Notifications
Universal links
- You can either find your apple-app-site-association files or create them as needed for each subdomain. To create a file, use a format similar to the one shown below. For more information and detailed instructions on how to create the apple-app-site-association file, read Apple's Supporting Associated Domains document.
{
  "applinks": {
    "apps": [],
    "details": [
      {
        "appID": "<TEAM_ID>.<BUNDLE_ID>",
        "paths": [
          "NOT /path/toignore",
          "/path/*"
        ]
      }
    ]
  }
}
The paths section defines the rules that define which URLs your app can handle. The apple-app-site-association file should be uploaded to the root of your HTTPS web server or to the .well-known subdirectory. The file needs to be accessible via HTTPS—without any redirects—at https://<domain>/apple-app-site-association or https://<domain>/.well-known/apple-app-site-association.
-
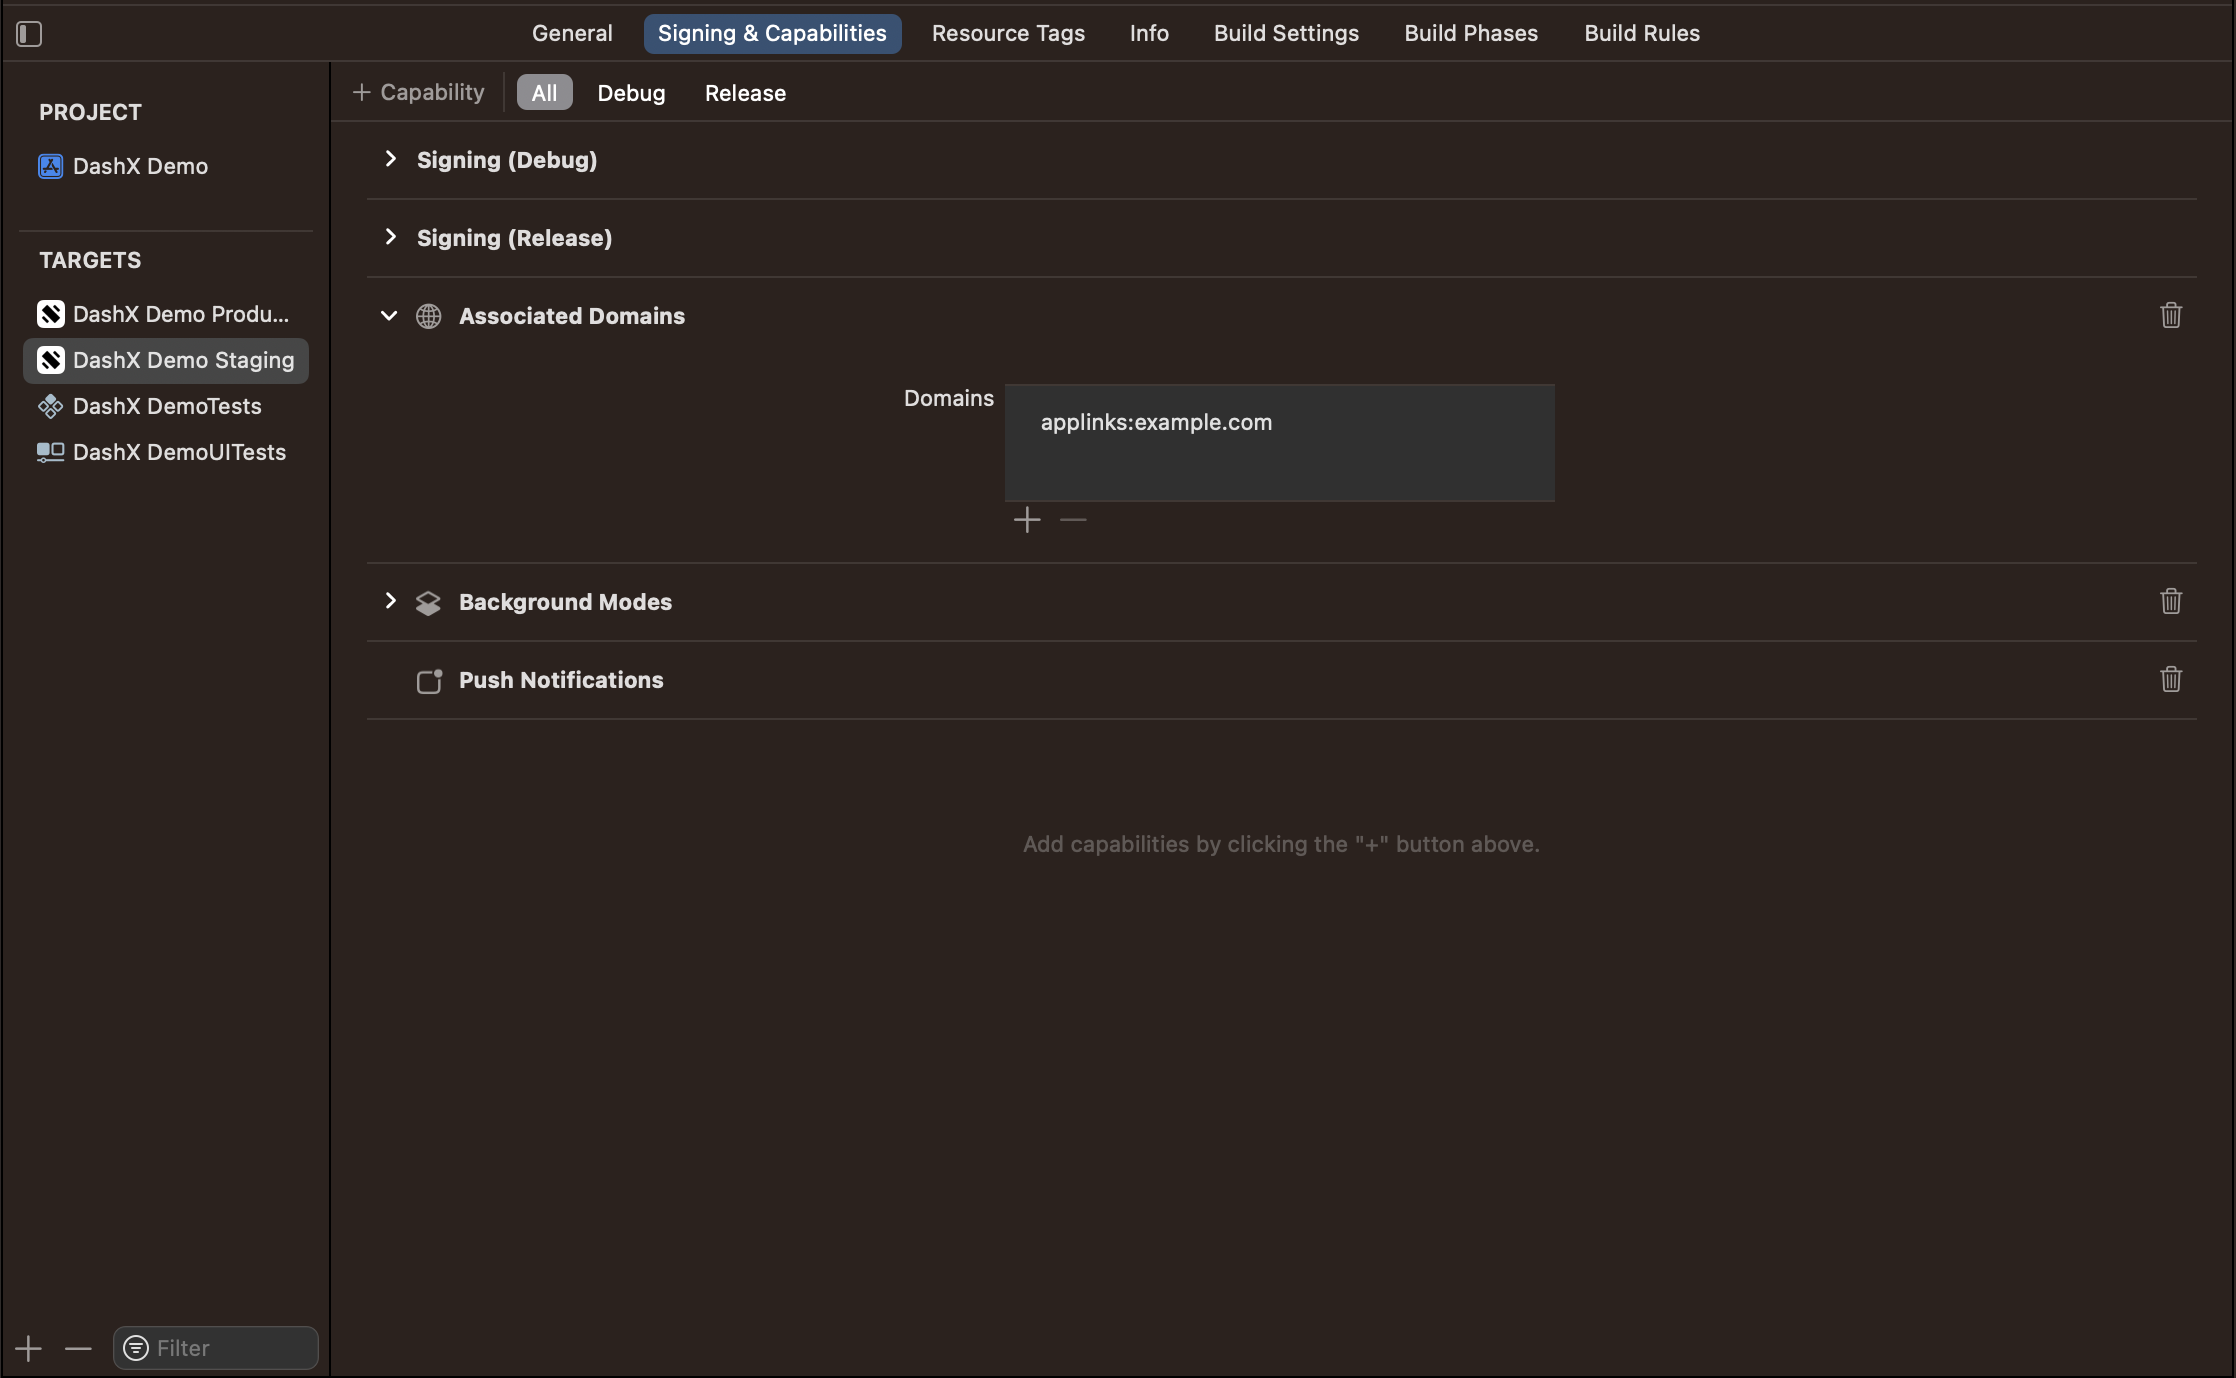
Configure your Xcode project's
Associated Domains, so that iOS can understand which links to open with your app instead of a web browser.- Select each non-test target and go to the Signing & Capabilities tab.
- Add the following Capabilities to each non-test target:
- Associated domains
iOS downloads a fresh copy of an app's apple-app-site-association file only when installing or updating that app. Because of this, changes to this file should be accompanied by a new version of the app.
- Update your app's code to handle Universal Links.
// In SceneDelegate, add the following functions

func scene(_ scene: UIScene, willConnectTo session: UISceneSession, options connectionOptions: UIScene.ConnectionOptions) {
  // ...
  DashX.handleUserActivity(userActivity: connectionOptions.userActivities.first)
  // ...
}

func scene(_ scene: UIScene, continue userActivity: NSUserActivity) {
  // ...
  DashX.handleUserActivity(userActivity: userActivity)
  // ...
}
// This method is called in your AppDelegate when you receive a Universal Link
override func handleLink(url: URL) {
  // Perform actions like navigating to a specific view
}
Android Setup
- Create a Firebase Project. (Learn more)
- Download
google-services.jsonfrom Firebase. (Learn more) - Copy
google-services.jsonto your module directory (<project>/app), or a build variant directory (<project>/app/<buildVariant>) if you use multiple environments. (seestagingandproductionfolders in dashx-demo-android for example) - Add the Google services gradle plugin, which automatically finds & parses the
google-services.jsonfile:-
Using the newer plugins DSL
In your root
build.gradlefile,build.gradleplugins {
id 'com.google.gms.google-services' version '4.3.13' apply false
}In your module-level
app/build.gradlefile,app/build.gradleplugins {
id 'com.google.gms.google-services'
} -
Using the legacy syntax for applying plugins
In your root
build.gradlefile,build.gradlebuildscript {
dependencies {
classpath 'com.google.gms:google-services:4.3.14'
}
}In your module-level
app/build.gradlefile,app/build.gradleapply plugin: 'com.google.gms.google-services'
-
DashX Setup
On DashX, you will need to install the Firebase Cloud Messaging app, for which you will need an API Key.
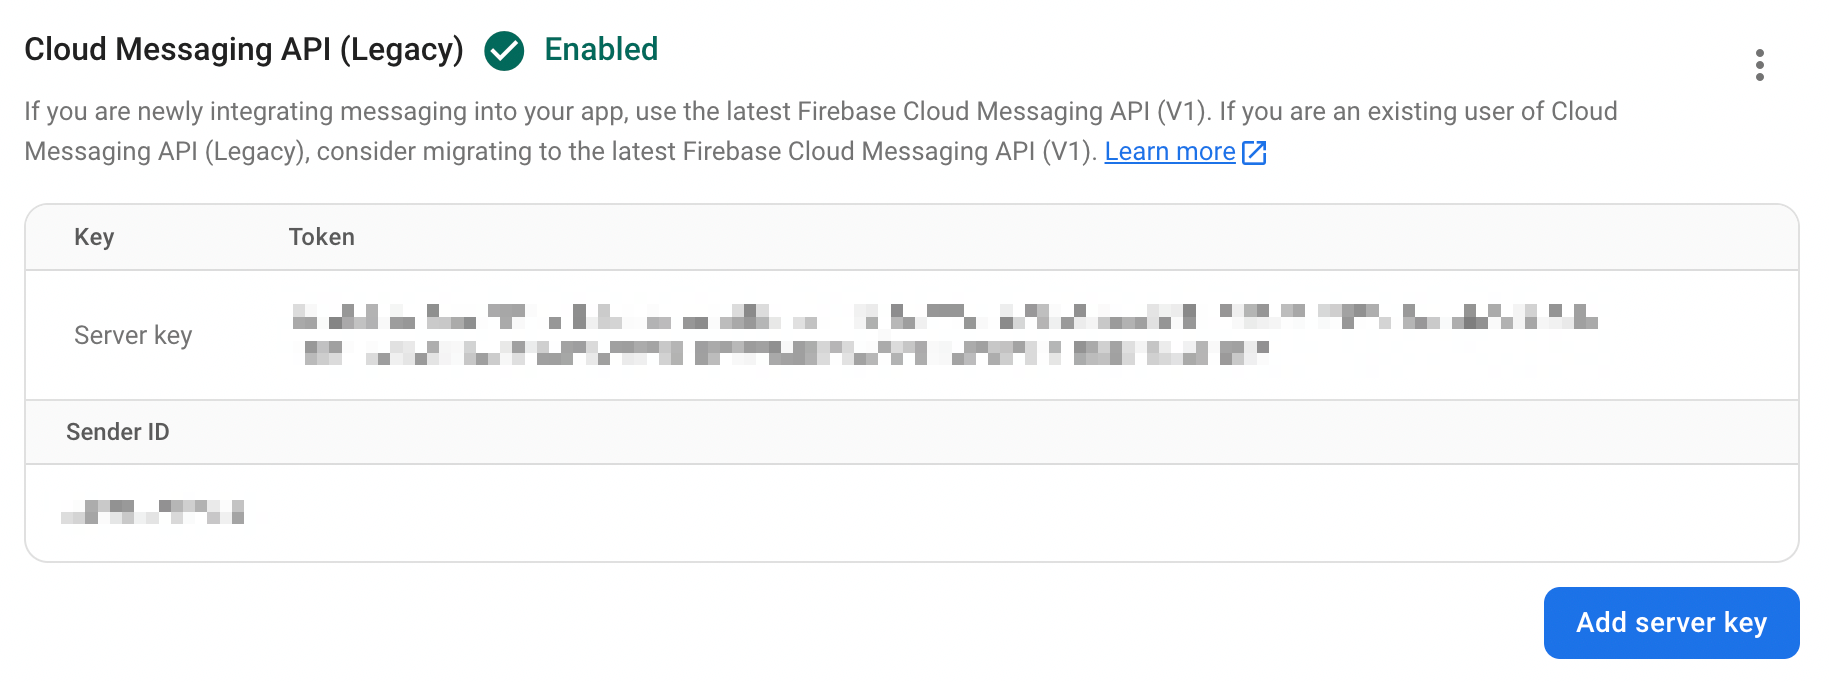
Enable Cloud Messaging API (Legacy)
-
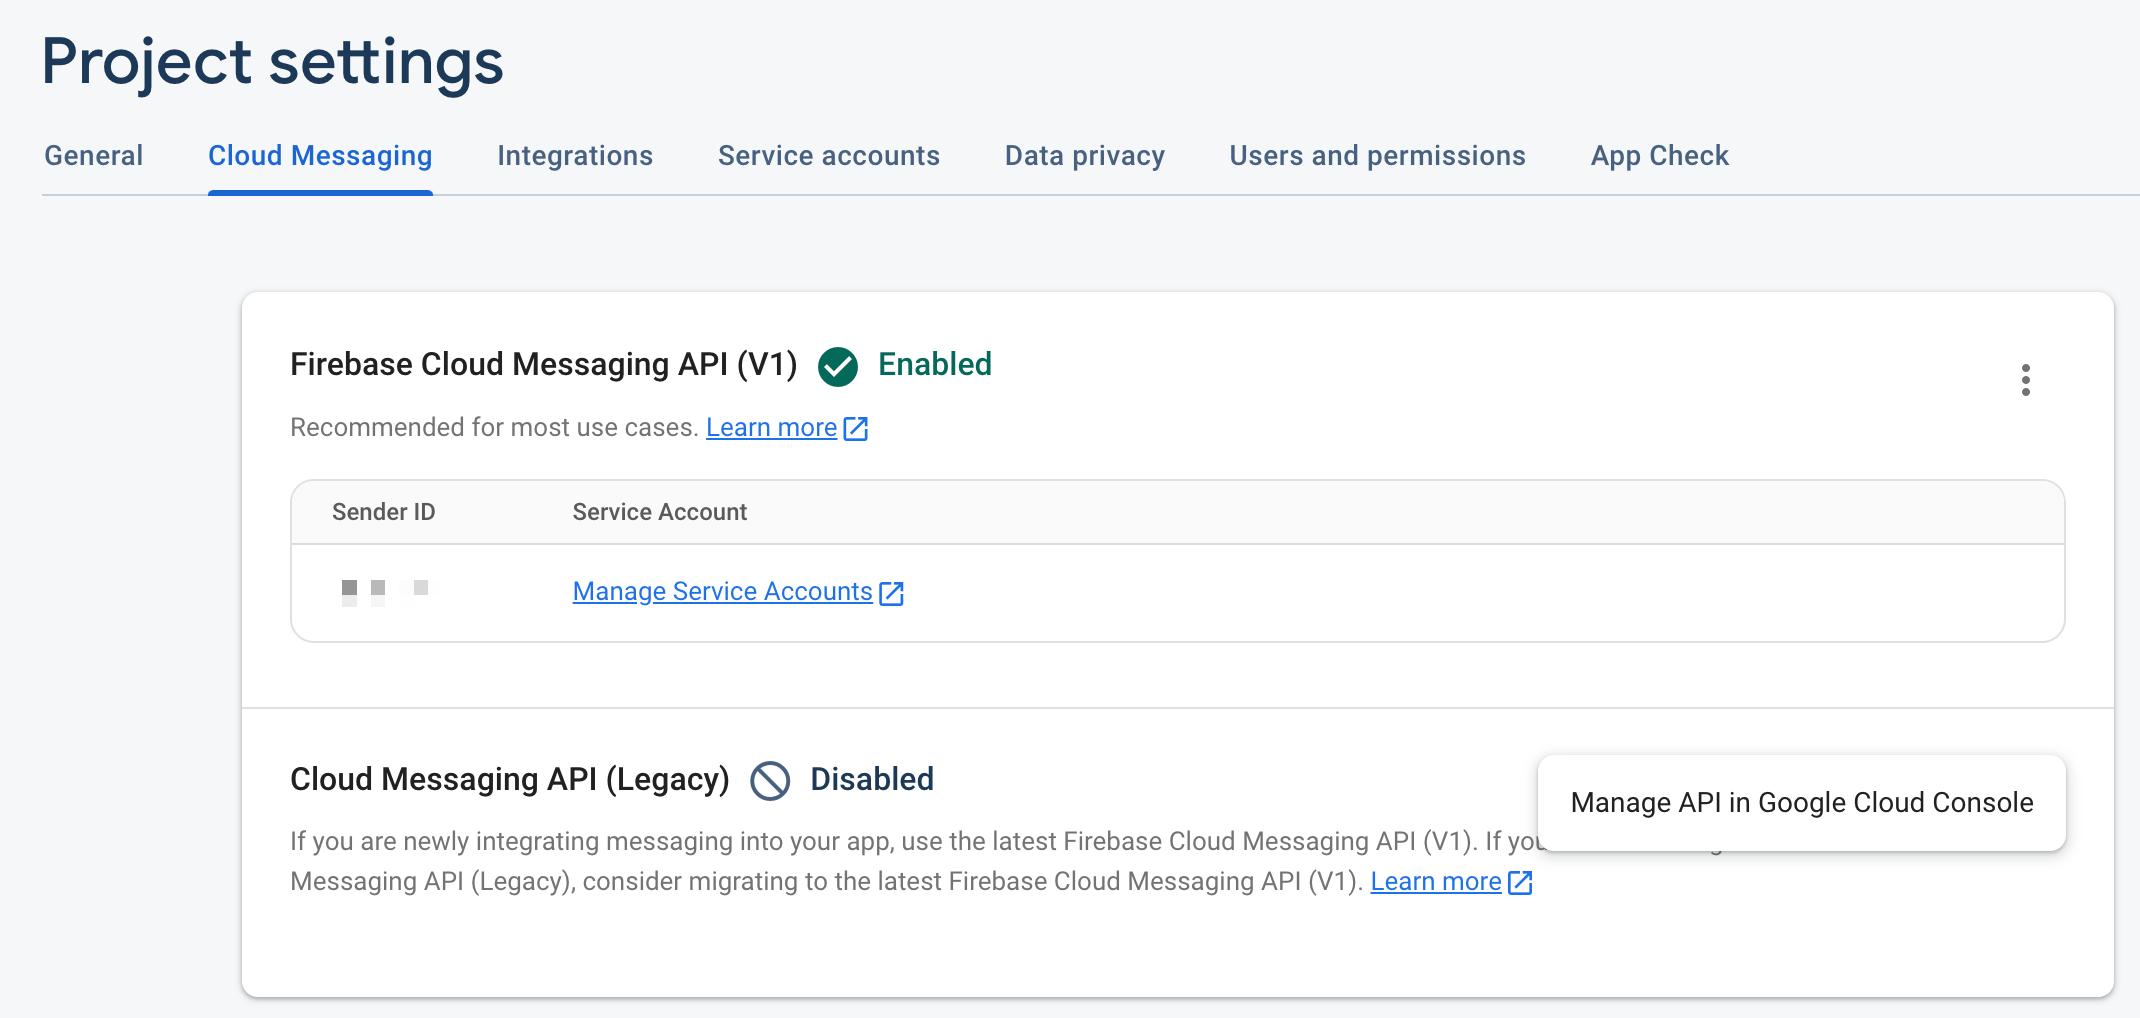
In your Firebase console, open Project Settings of your Firebase project.
-
Head to the Cloud Messaging tab.
-
Enable the Cloud Messaging API (Legacy) API by clicking on the three dots > Manage API in Google Cloud Console.
-
Next, in Google Cloud console, hit Enable.
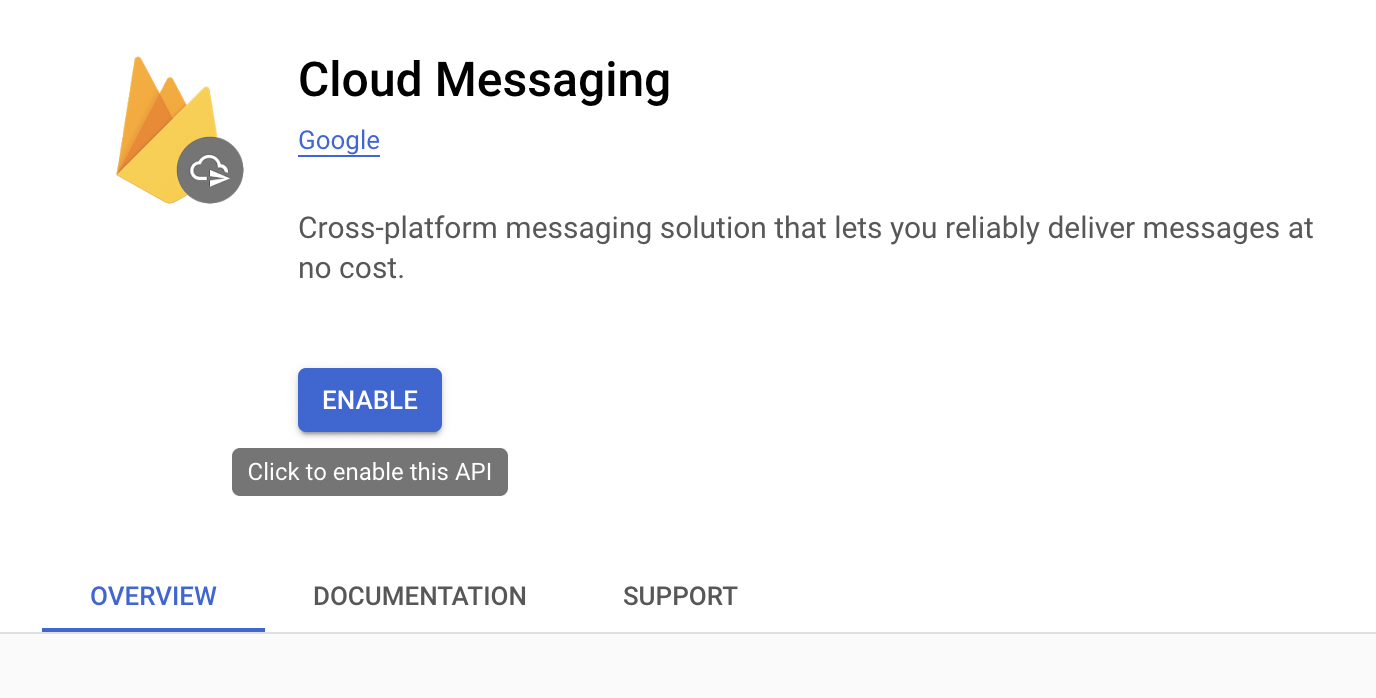
Most libraries don't support the newer FCM API (V1) just yet, so you're better off using the Legacy API. We plan to migrate to the newer protocol once the ecosystem around it has matured.
-
Now, under your Firebase console, you will find your Server key.
Install Firebase Cloud Messaging app on DashX
-
On DashX, switch to the Workspace dashboard from the top bar.
-
Head to the Apps section.
-
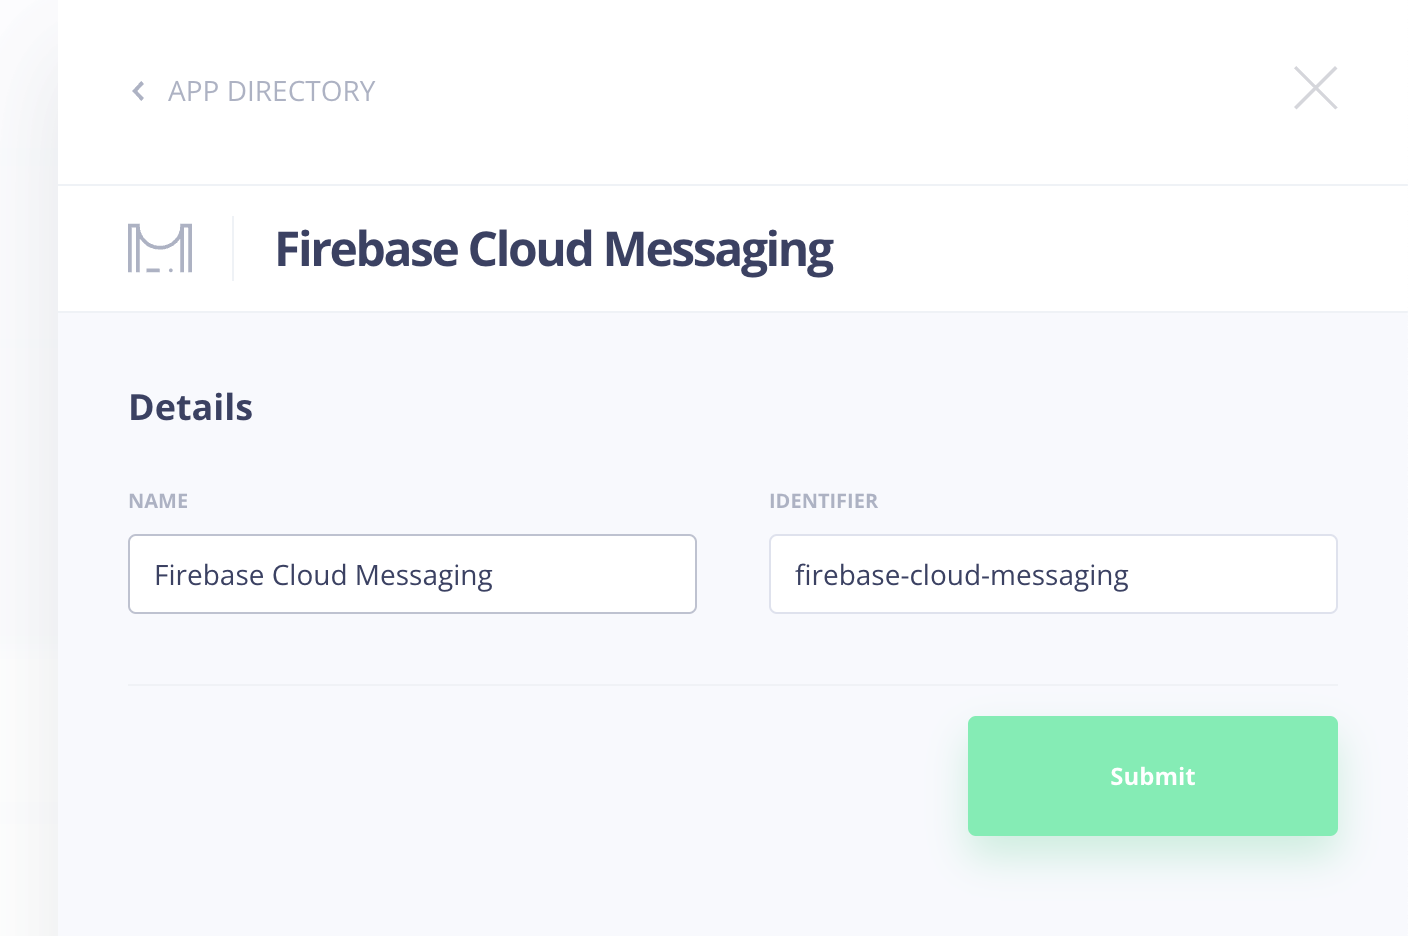
Under the Messaging Services category, select the Firebase Cloud Messaging app.

-
When installing the app, enter the following details:
-
Name: This is a human-readable name for your installation.
-
Identifier: This is used programatically to select this installation via the DashX API.
-
-
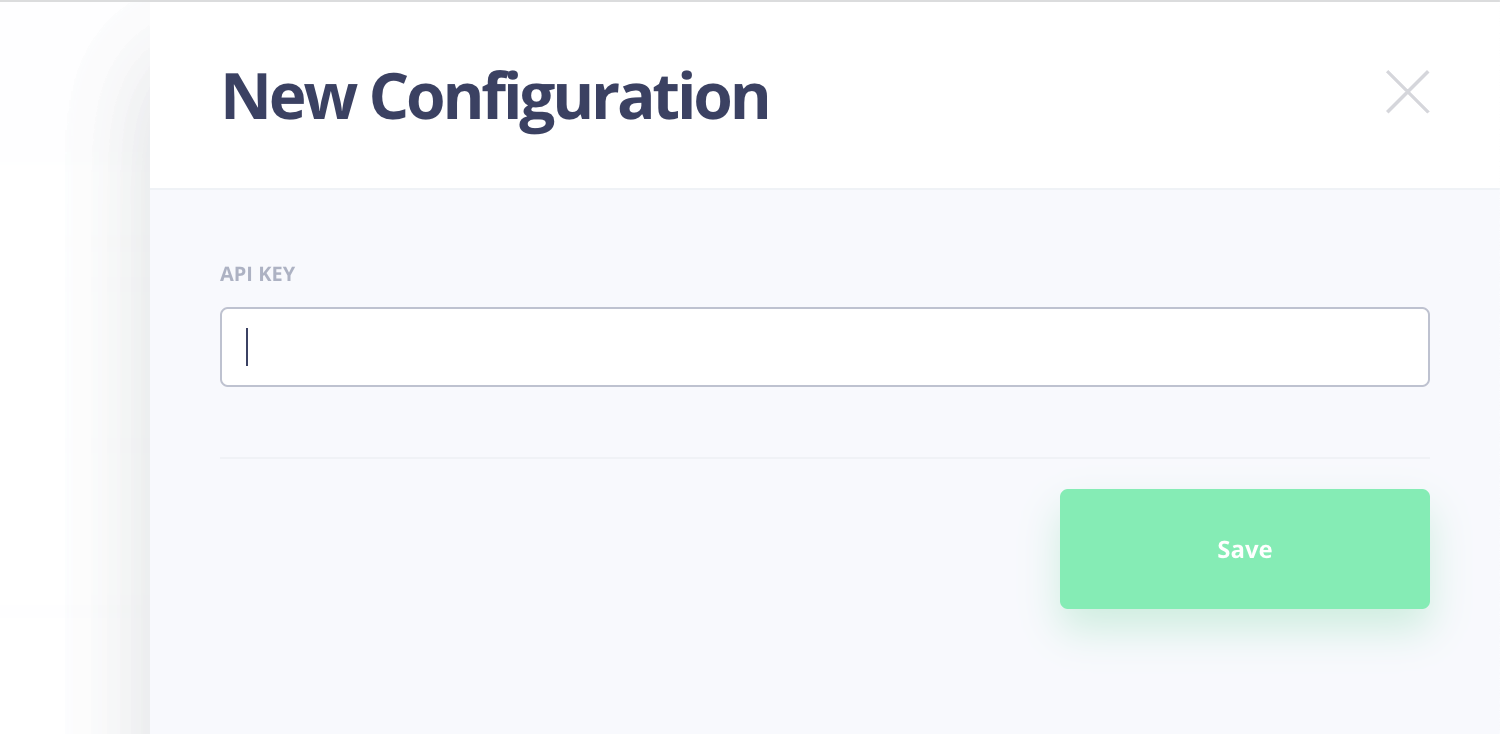
Next, configure the installation for each Environment that you have created by clicking on Configure next to the environment name.
-
In the API Key field, paste the Server key value of the relevant Firebase Project.
-
Hit Save to save the configuration. Do this for each environment.
References
You can find detailed instructions on setting up a Firebase Project on the Firebase Documentation website:
- iOS Setup: https://firebase.google.com/docs/ios/setup
- Android Setup: https://firebase.google.com/docs/android/setup