Slack
Setup Up Chat Using Slack
Introduction
Follow this step-by-step guide to learn how to send a Slack Direct Message seamlessly using DashX.
Prerequisites
To complete this tutorial, ensure you have active DashX and Slack accounts. If you don’t already have accounts, sign up before starting. Additionally, you’ll need permissions to create and configure a Slack app, as well as add it to a Slack workspace. If you don’t have access, you can create your own free Slack workspace to proceed.
Our Slack app will be straightforward, focusing on delivering direct messages. While Slack supports advanced interactivity and menu interactions, this tutorial will cover the basics. For a comprehensive overview of Slack's capabilities, visit the Slack platform Overview. If you already have a Slack app, you can skip ahead to the OAuth Permissions section.
Create a Slack App
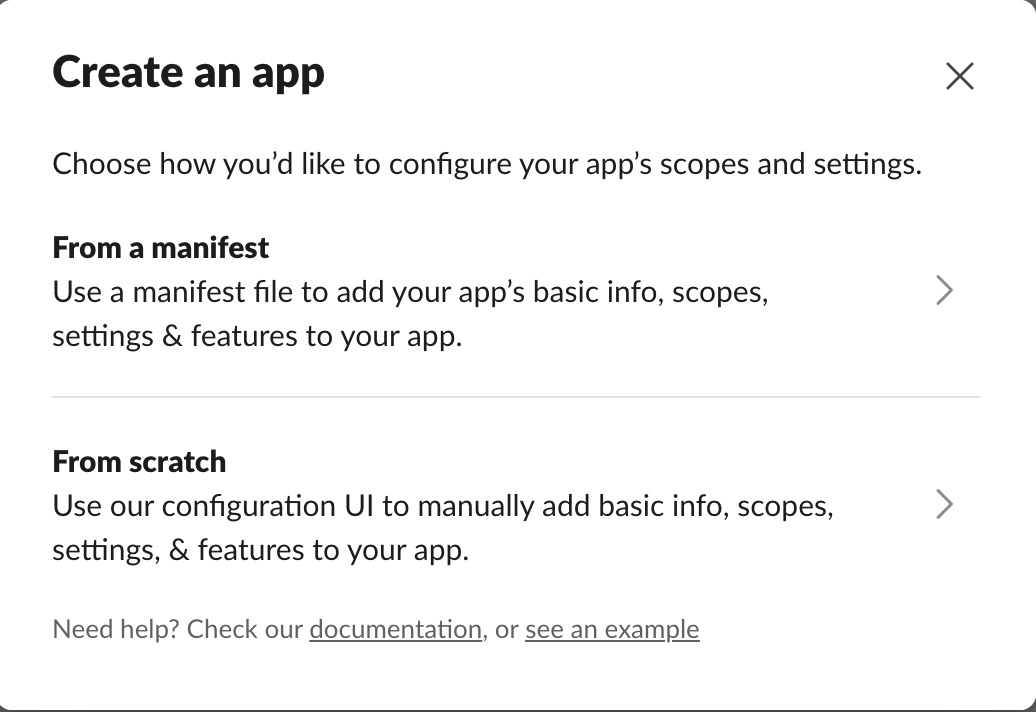
After logging in to Slack, navigate to the Apps page and click the Create an App button. A modal will appear with two options: From a Manifest and From Scratch. Select From Scratch.
This will open a modal with two form fields: App Name and Pick a Workspace to develop your app in .
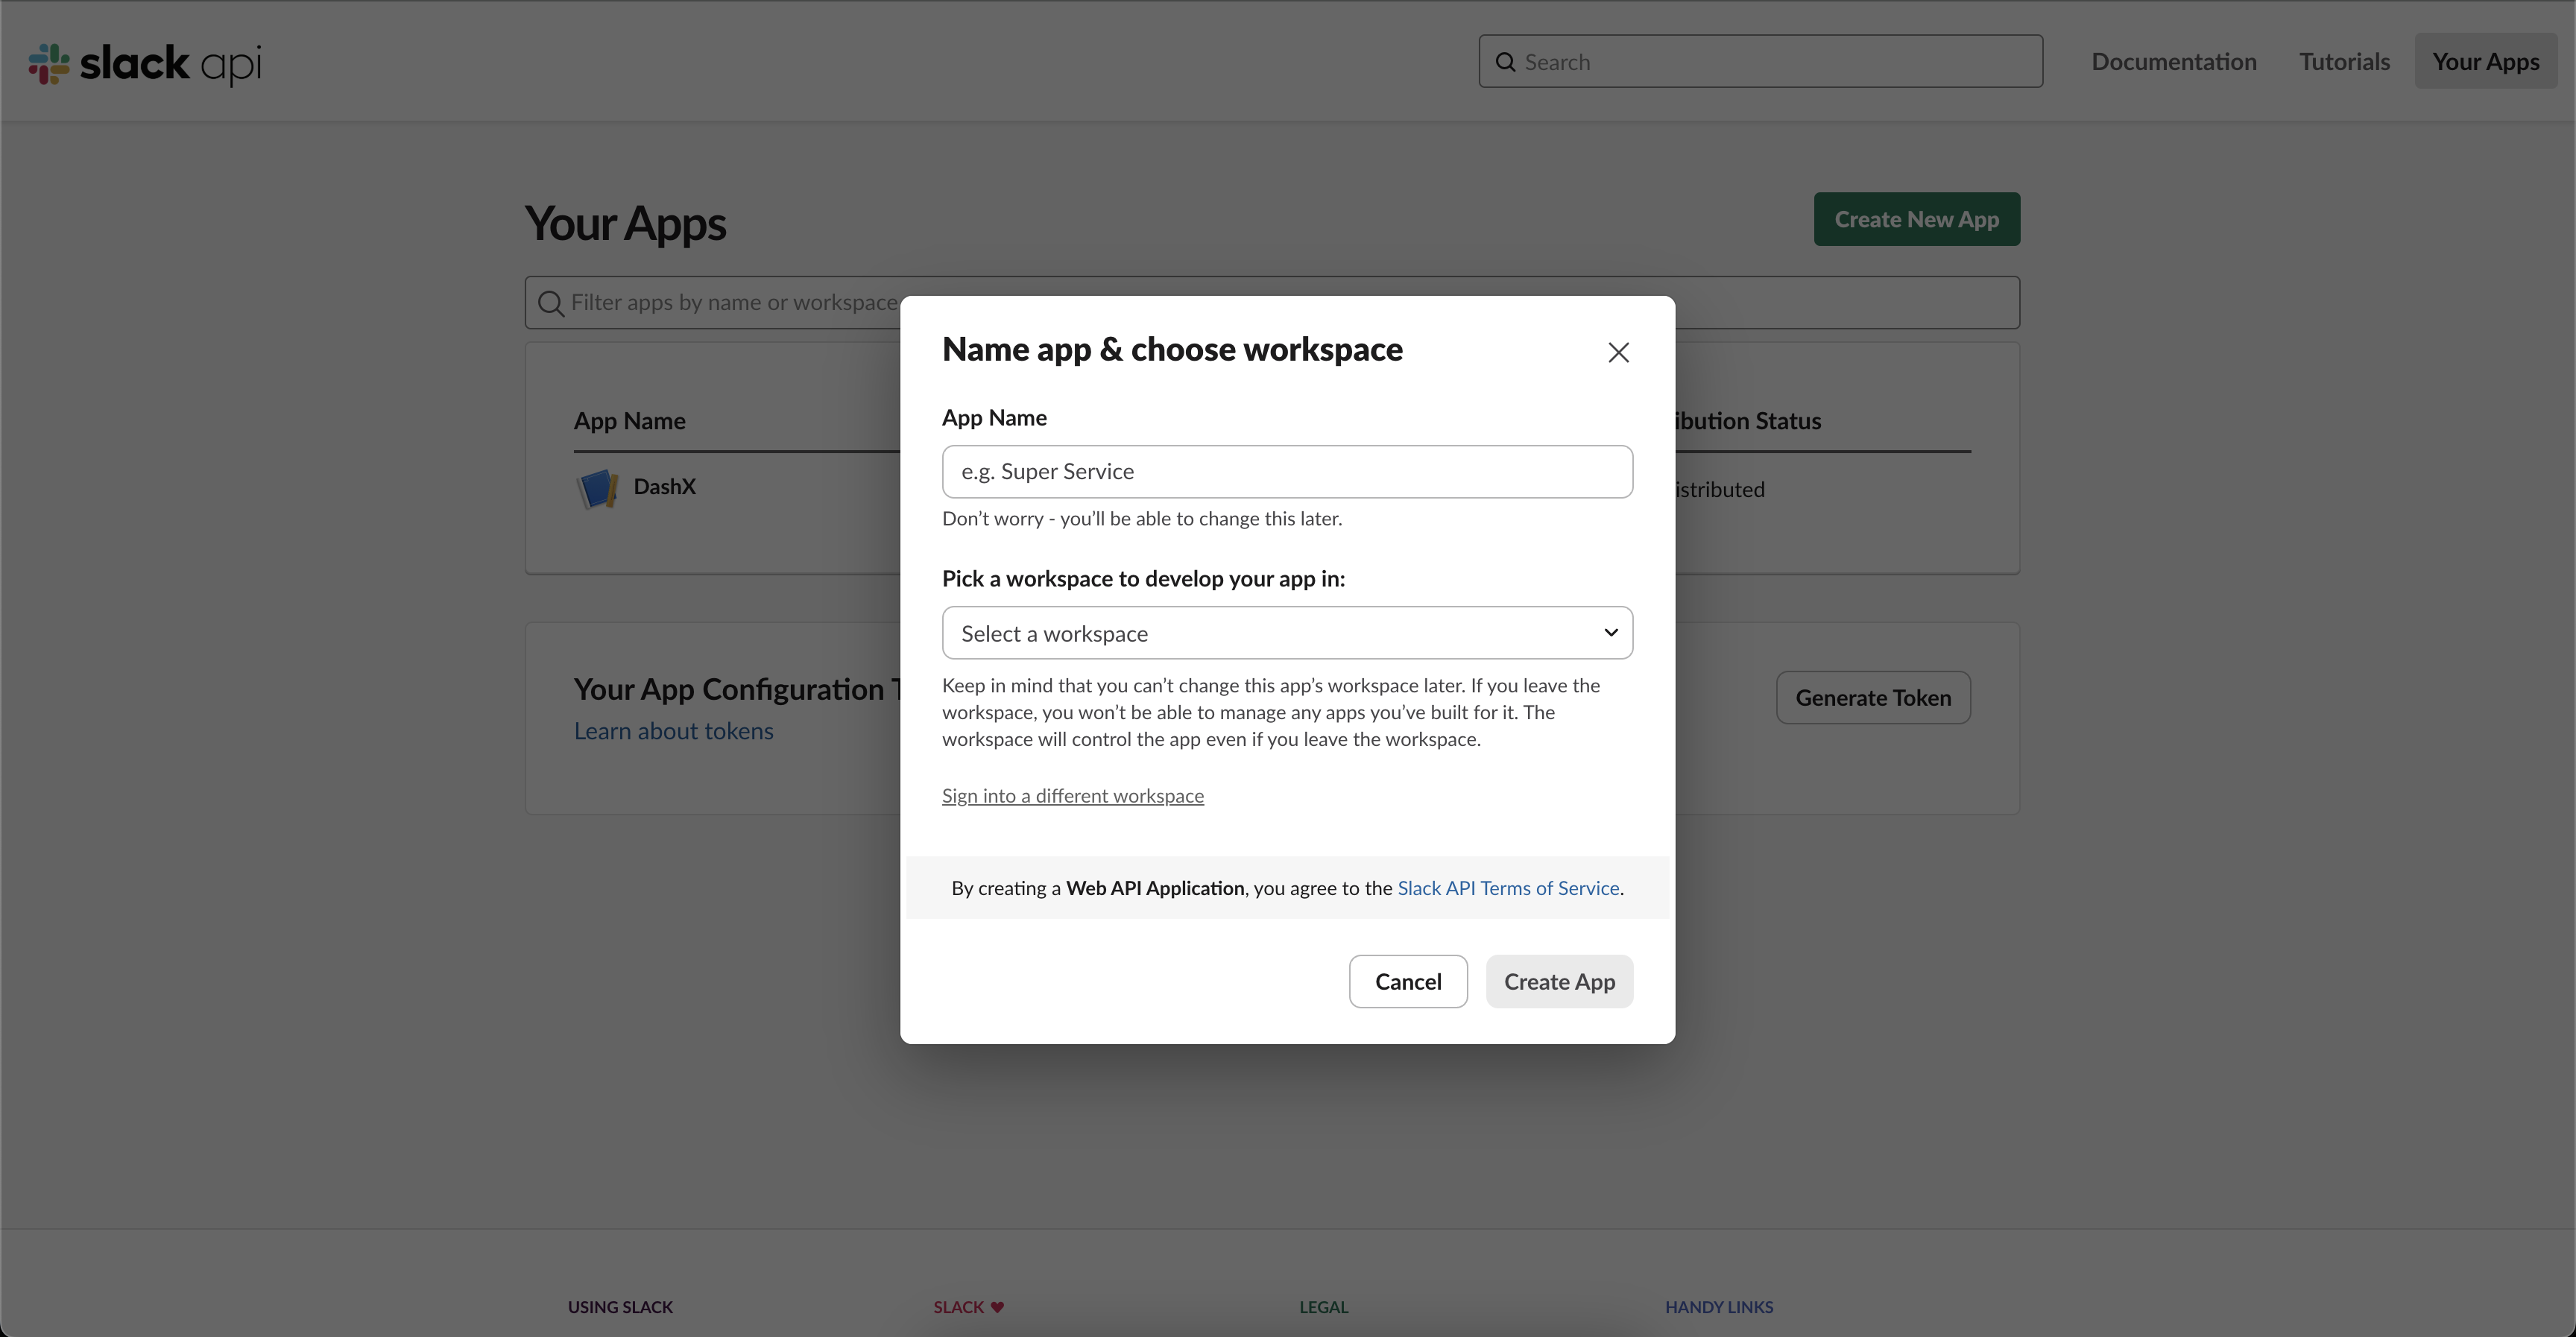
For the App Name, use something like DashX App. Select the workspace you will be using to build this app. Then, click Create App.
Requesting Scopes for the App
Next, you'll need to request scopes for your app. Scopes give your app permission to perform actions, such as posting messages in your workspace.
- Within OAuth & Permissions, scroll down to Scopes.
- Under Bot Token Scopes, select Add an OAuth Scope.
- To allow your app to post messages, add the
chat:writescope. - To allow your app to access public Slack channels, add the
channels:readscope.
NOTE: Slack apps can't post to any public channel by default; they gain that ability by asking for permission explicitly with the use of scopes. Request the chat:write.public scope to gain the ability to post in all public channels without joining. Otherwise, you'll need to use the conversations.join scope, or have your app invited into a channel by a user before it can post.
Installing the App
- Return to the Basic Information section of the app management page.
- Install your app by selecting the Install to Workspace button.
- You'll now be sent through the Slack OAuth flow. Select Allow on the following screen.
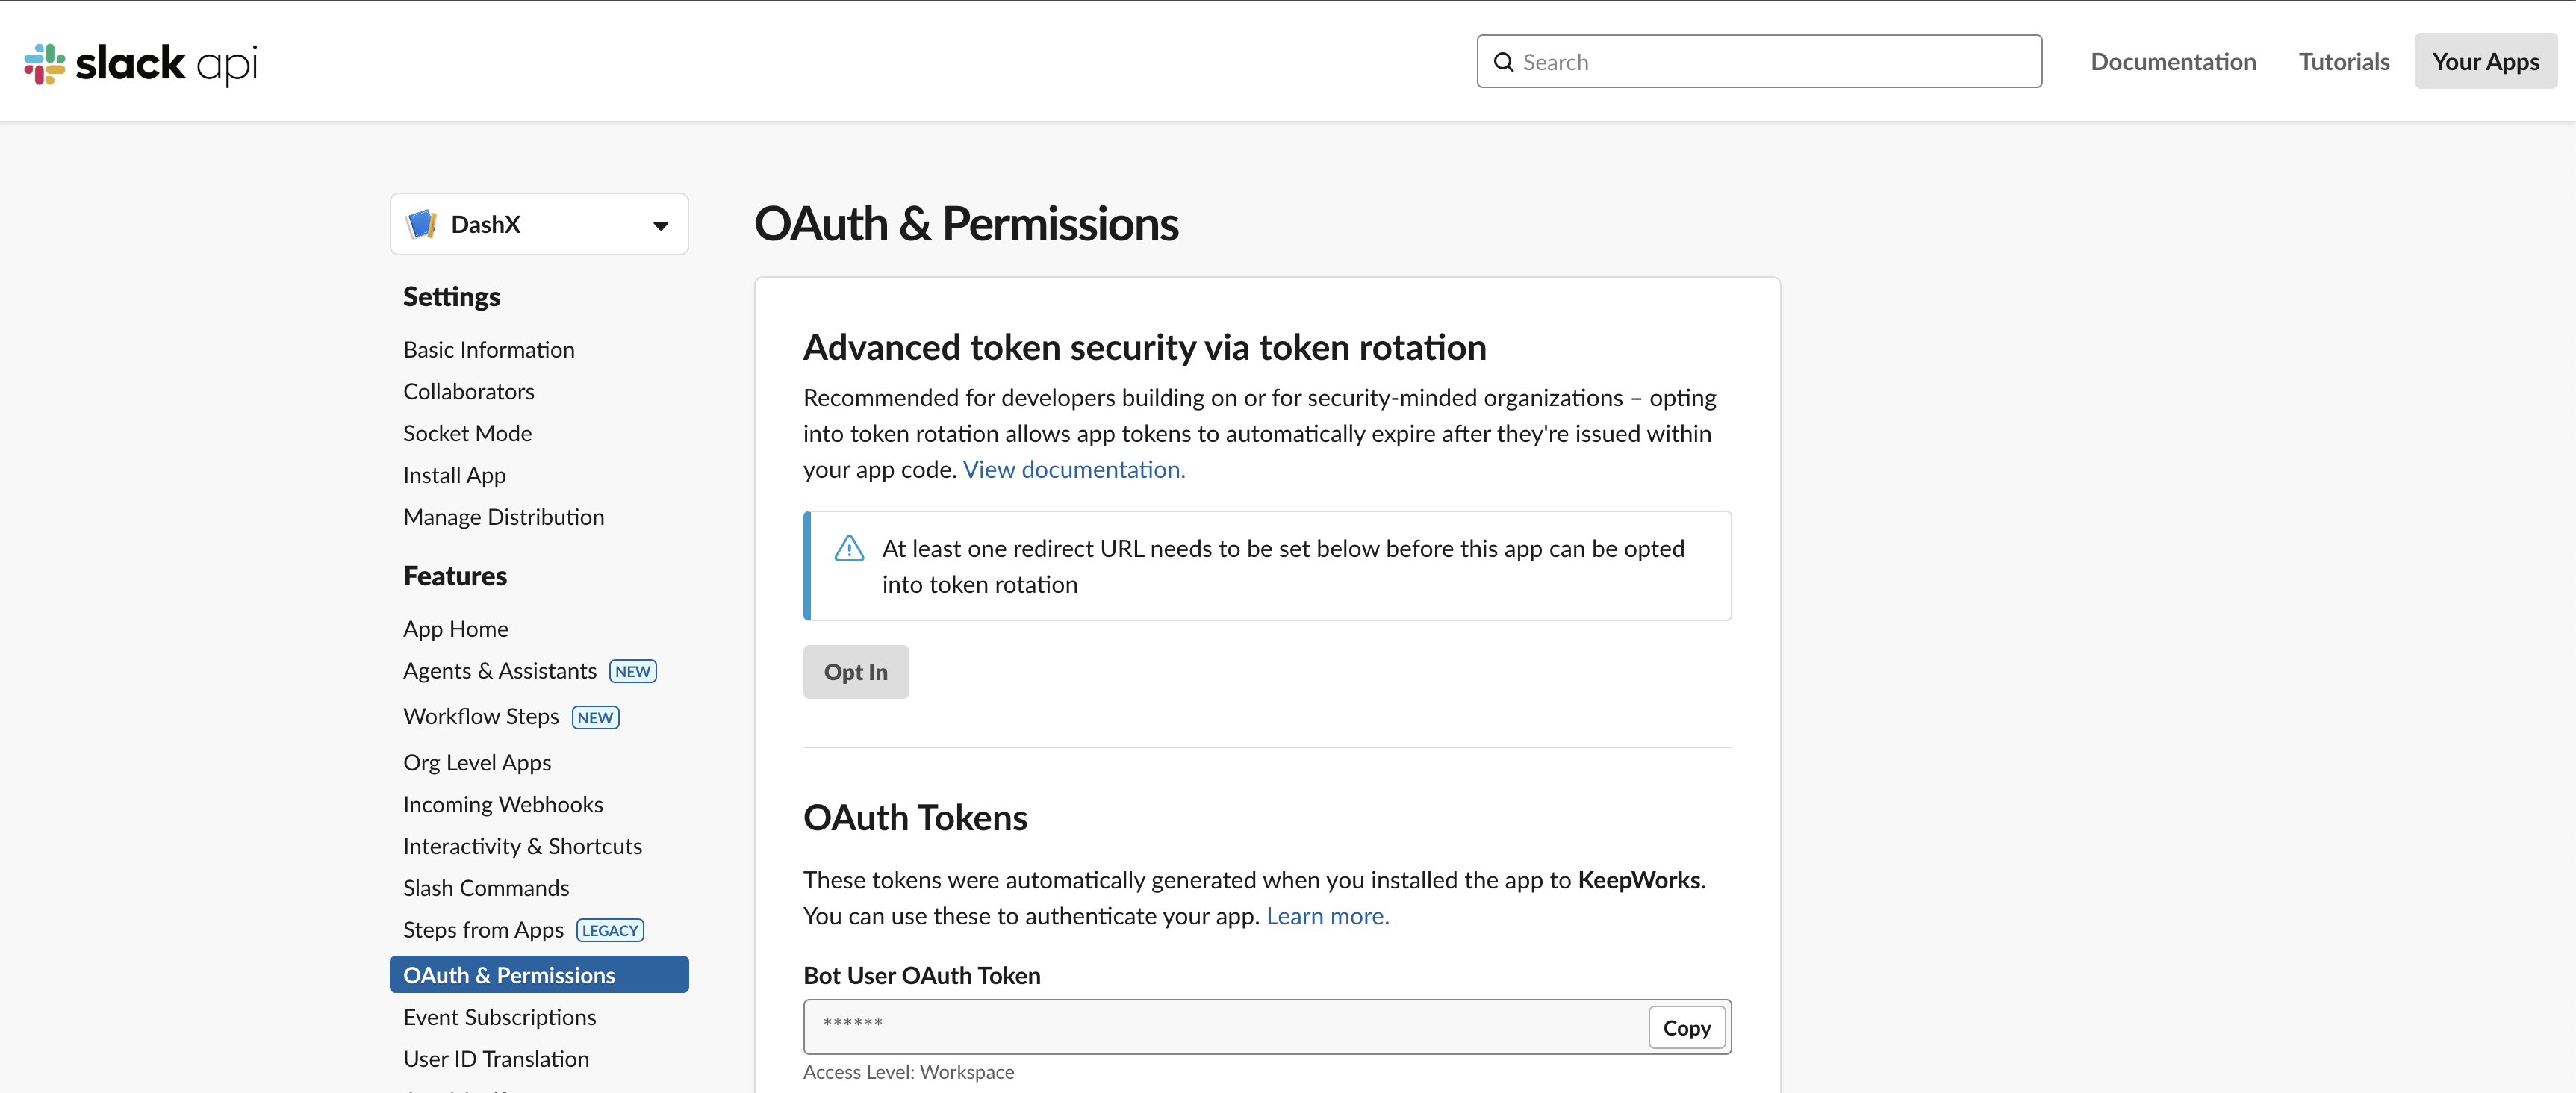
- After installation, navigate back to the OAuth & Permissions page. You'll see an access token under OAuth Tokens. Make Note of this value
NOTE: Your app isn't a member of any channels yet, so pick a channel to add some test messages in and /invite your app as in the following example slash command:
/invite @DashX App
Add Slack Integration on DashX
-
Once logged in to DashX, navigate to the Workspace's Integrations page - https://workspace-name.dashx.com/~workspace/apps#integrations where
workspace-nameis the name of your workspace and click on the+button.
-
DashX Integrations each require different pieces of information based on the needs of the Integration provider. We will send our configuration details as part of our request body when sending a message. For now, click on
Slack.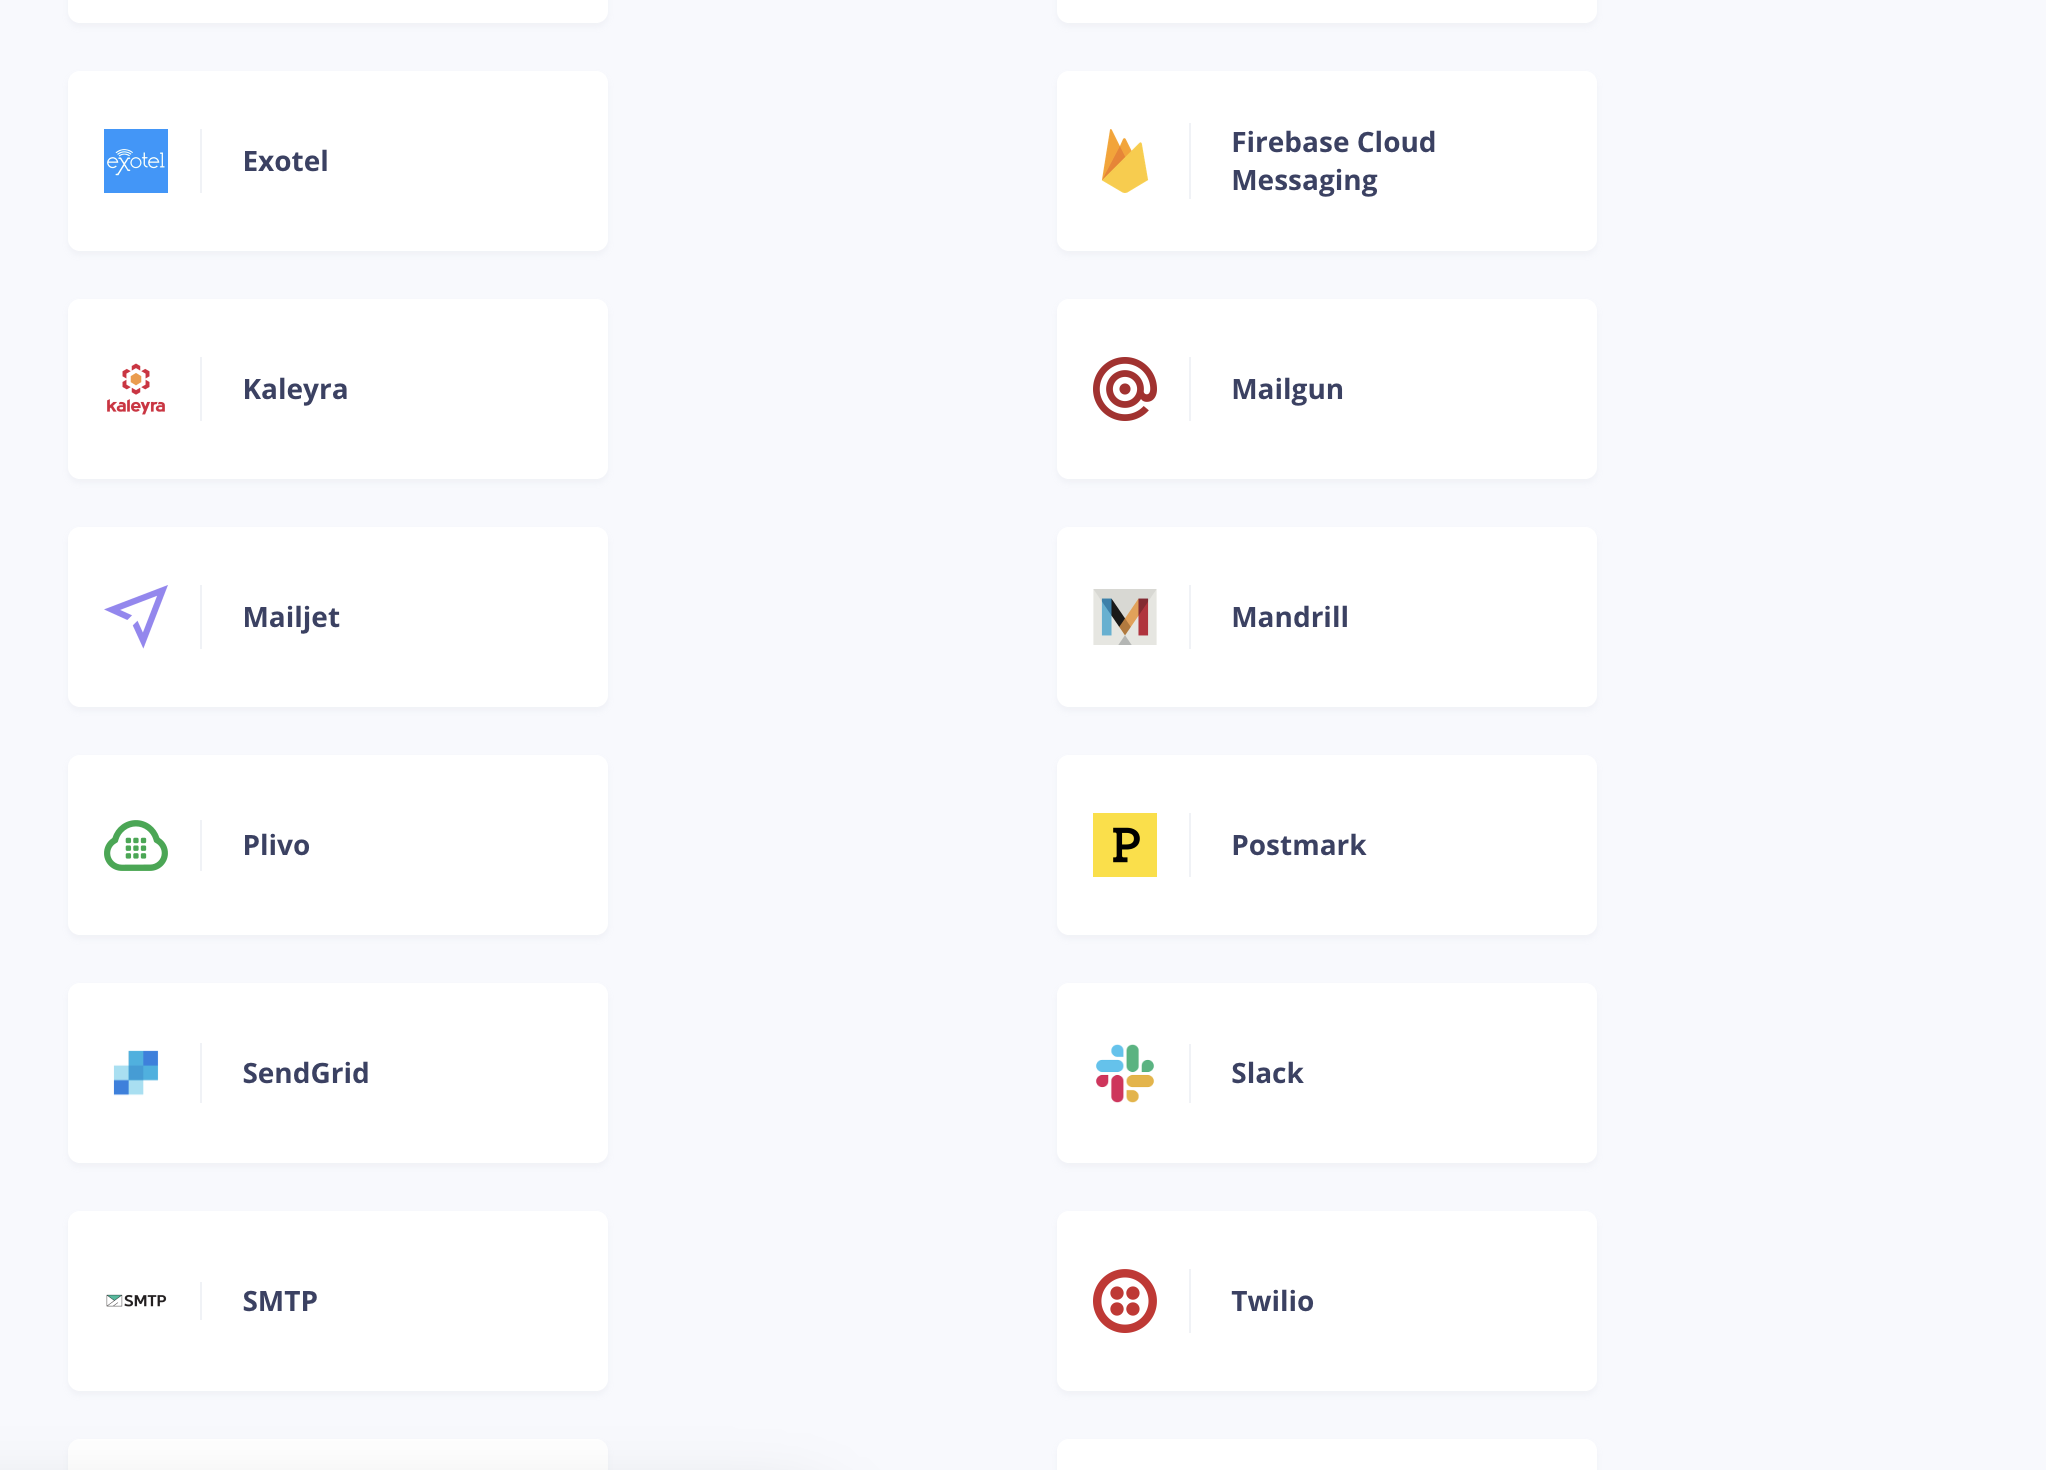
-
Add the
Bot User OAuth Tokenvalue generated after Installing the Slack App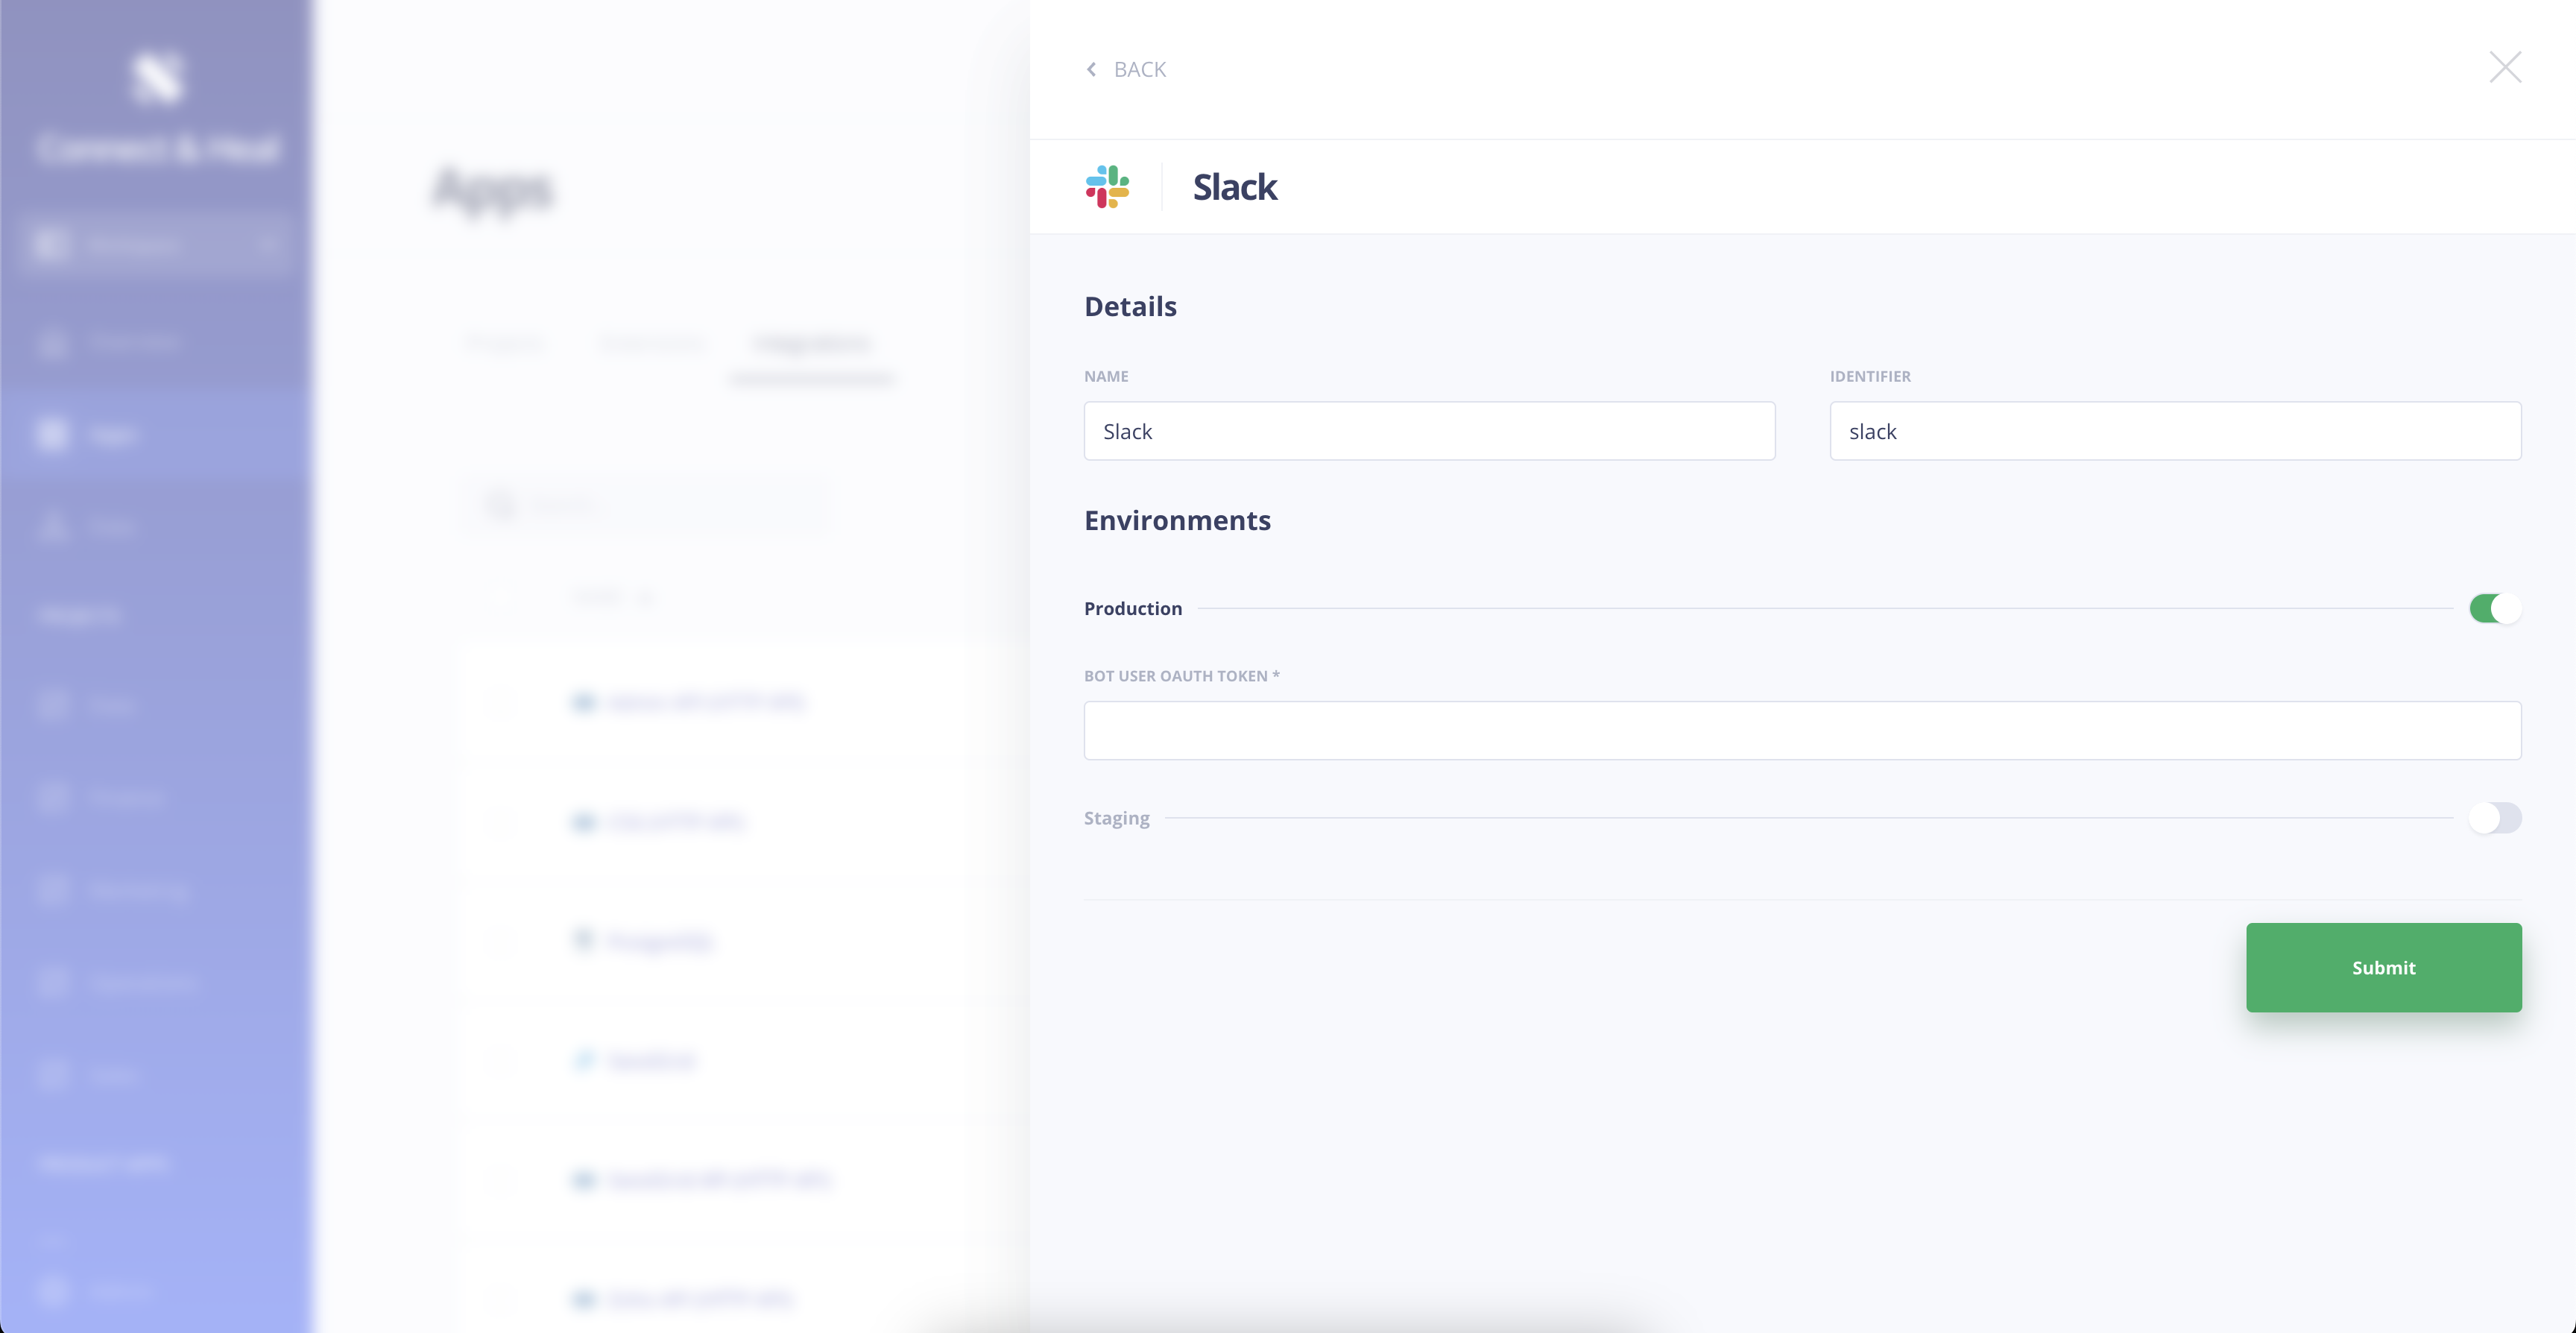
Configuring the Slack app for event listening
Slack apps listen and respond to events with the Events API. Let's subscribe to the app_mention event.
- Select Event Subscriptions and toggle Enable Events to ON.
- Within Subscribe to bot events, select Add Bot User Event, then search for
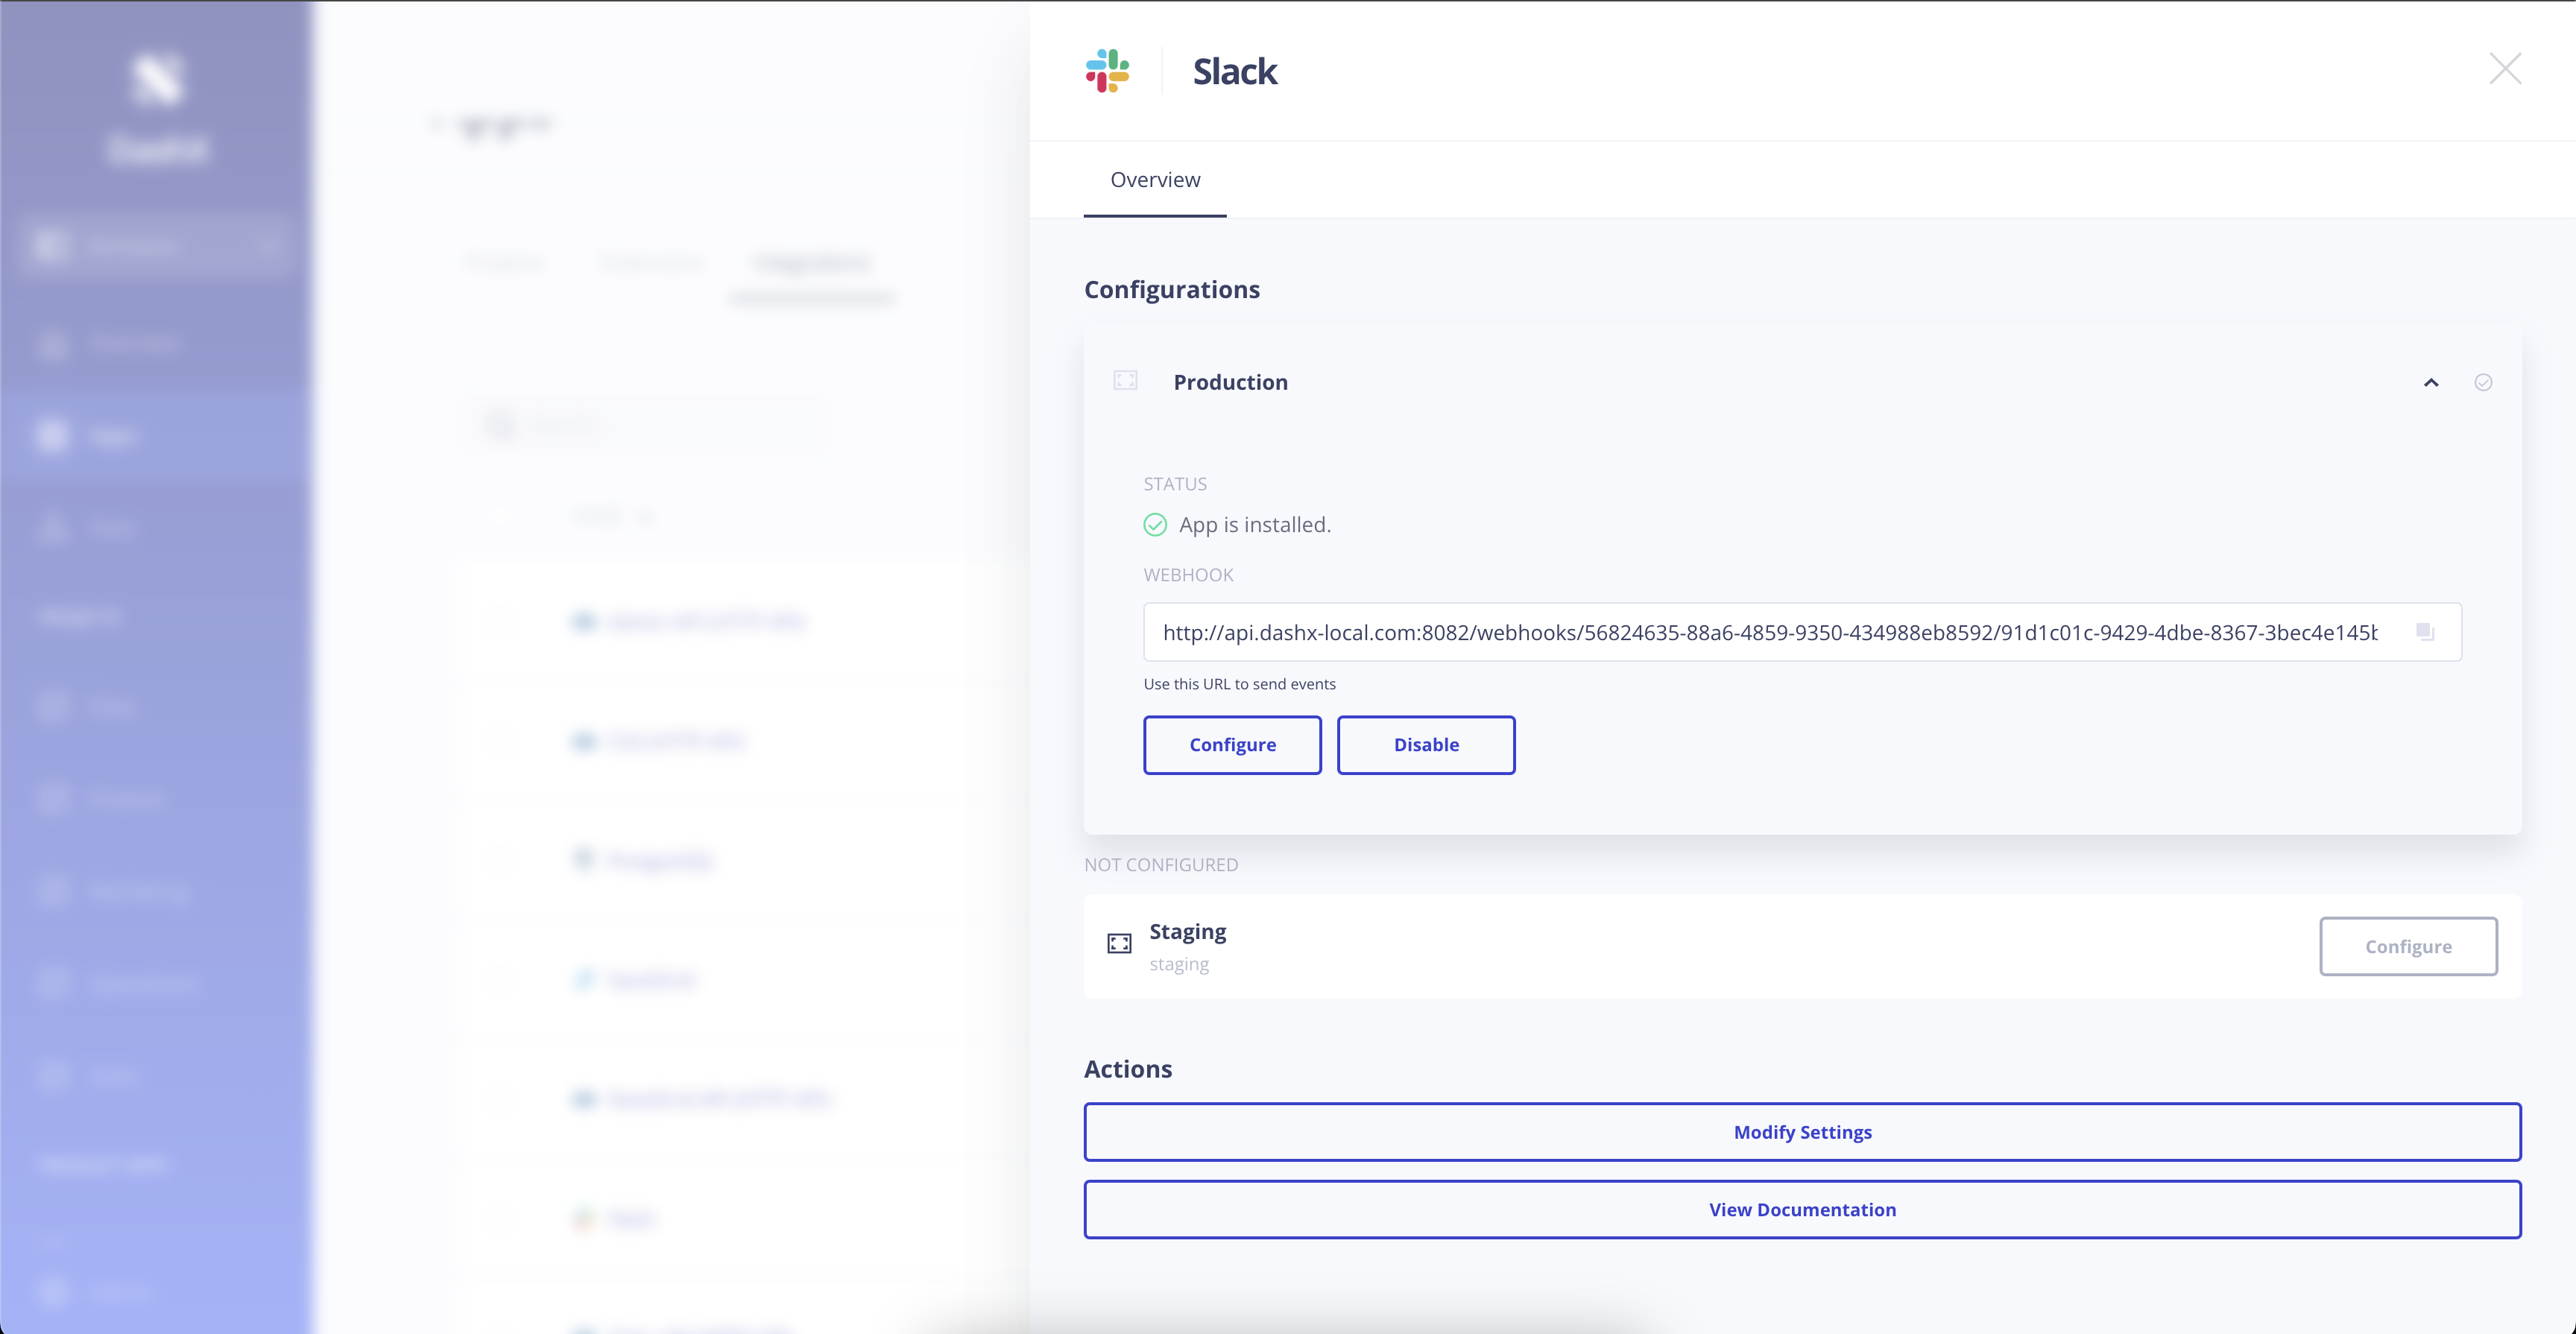
app_mention. As with scopes, always subscribe to events with a bot user. - Next, set the Request URL to a URL where your app's server listens to incoming HTTP requests. Slack will send an HTTP request there when your app is mentioned, allowing DashX to determine how it will respond. On DashX, you can find the webhook URL listed under the configured integration.
